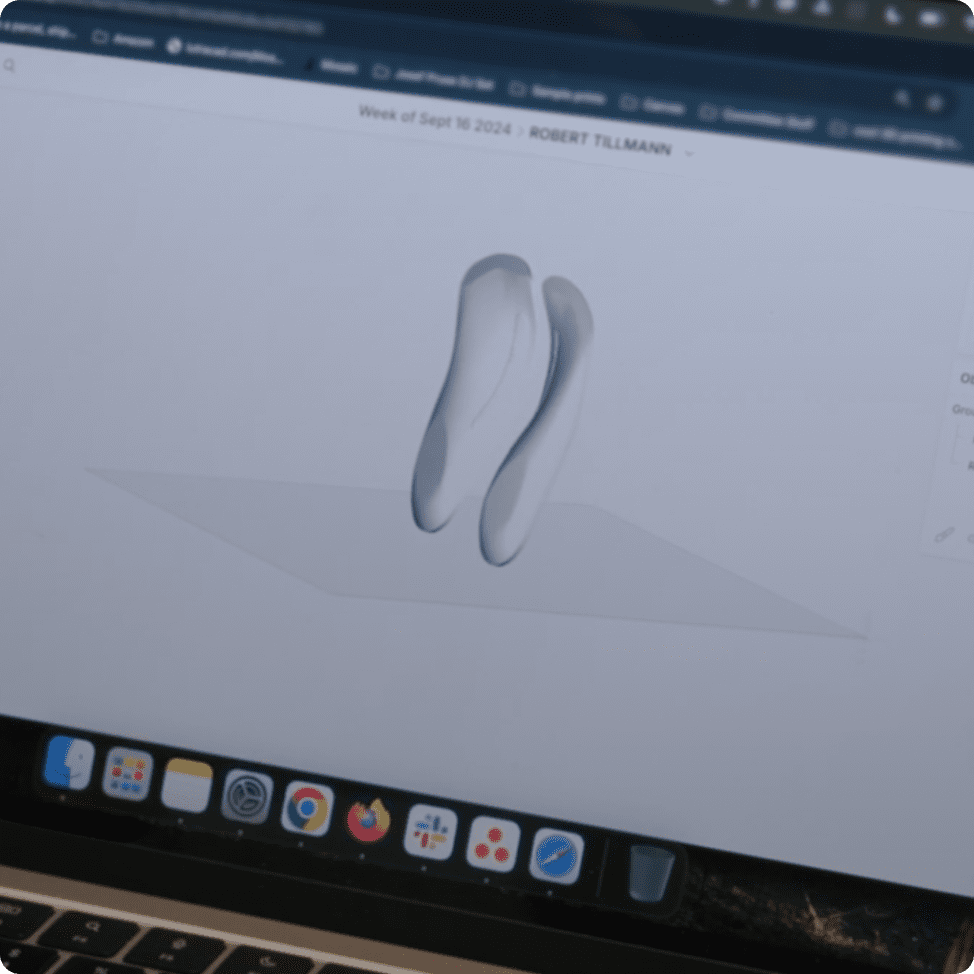
specialized approach that leverages design principles
tailored to the capabilities of 3D printing.
When applied strategically, DfAM can dramatically enhance
production efficiency by reducing material waste,
minimizing manual intervention, and maximizing
throughput.
Effective design goes
beyond printability—it’s
about optimizing parts
for speed, performance,
and cost-efficiency.
By applying specific DfAM principles from the earliest design stages through to post-processing and assembly, teams can unlock substantial cost savings across the entire production workflow.
This guide highlights three proven strategies to help reduce your cost per part and drive more value from your additive manufacturing systems:
- Lower material costs by optimizing part geometry for both structural performance and efficient printability.
- Reduce labor expenses through designs that simplify assembly and minimize manual post-processing.
- Avoid costly network or delays by aligning designs with your printer’s capabilities, material properties, and end-use requirements printability.
Whether your goal is to reduce per-part costs, accelerate production, or scale economically, these DfAM strategies will help you get there.

Reduce Material Cost By Optimizing Geometry
One of the most effective ways to reduce part costs in additive manufacturing is by minimizing material usage. Through smart geometric design, you can lower material consumption, shorten
print times, and improve cost efficiency across production runs- all without compromising part performance. To achieve this, consider implementing the following strategies.
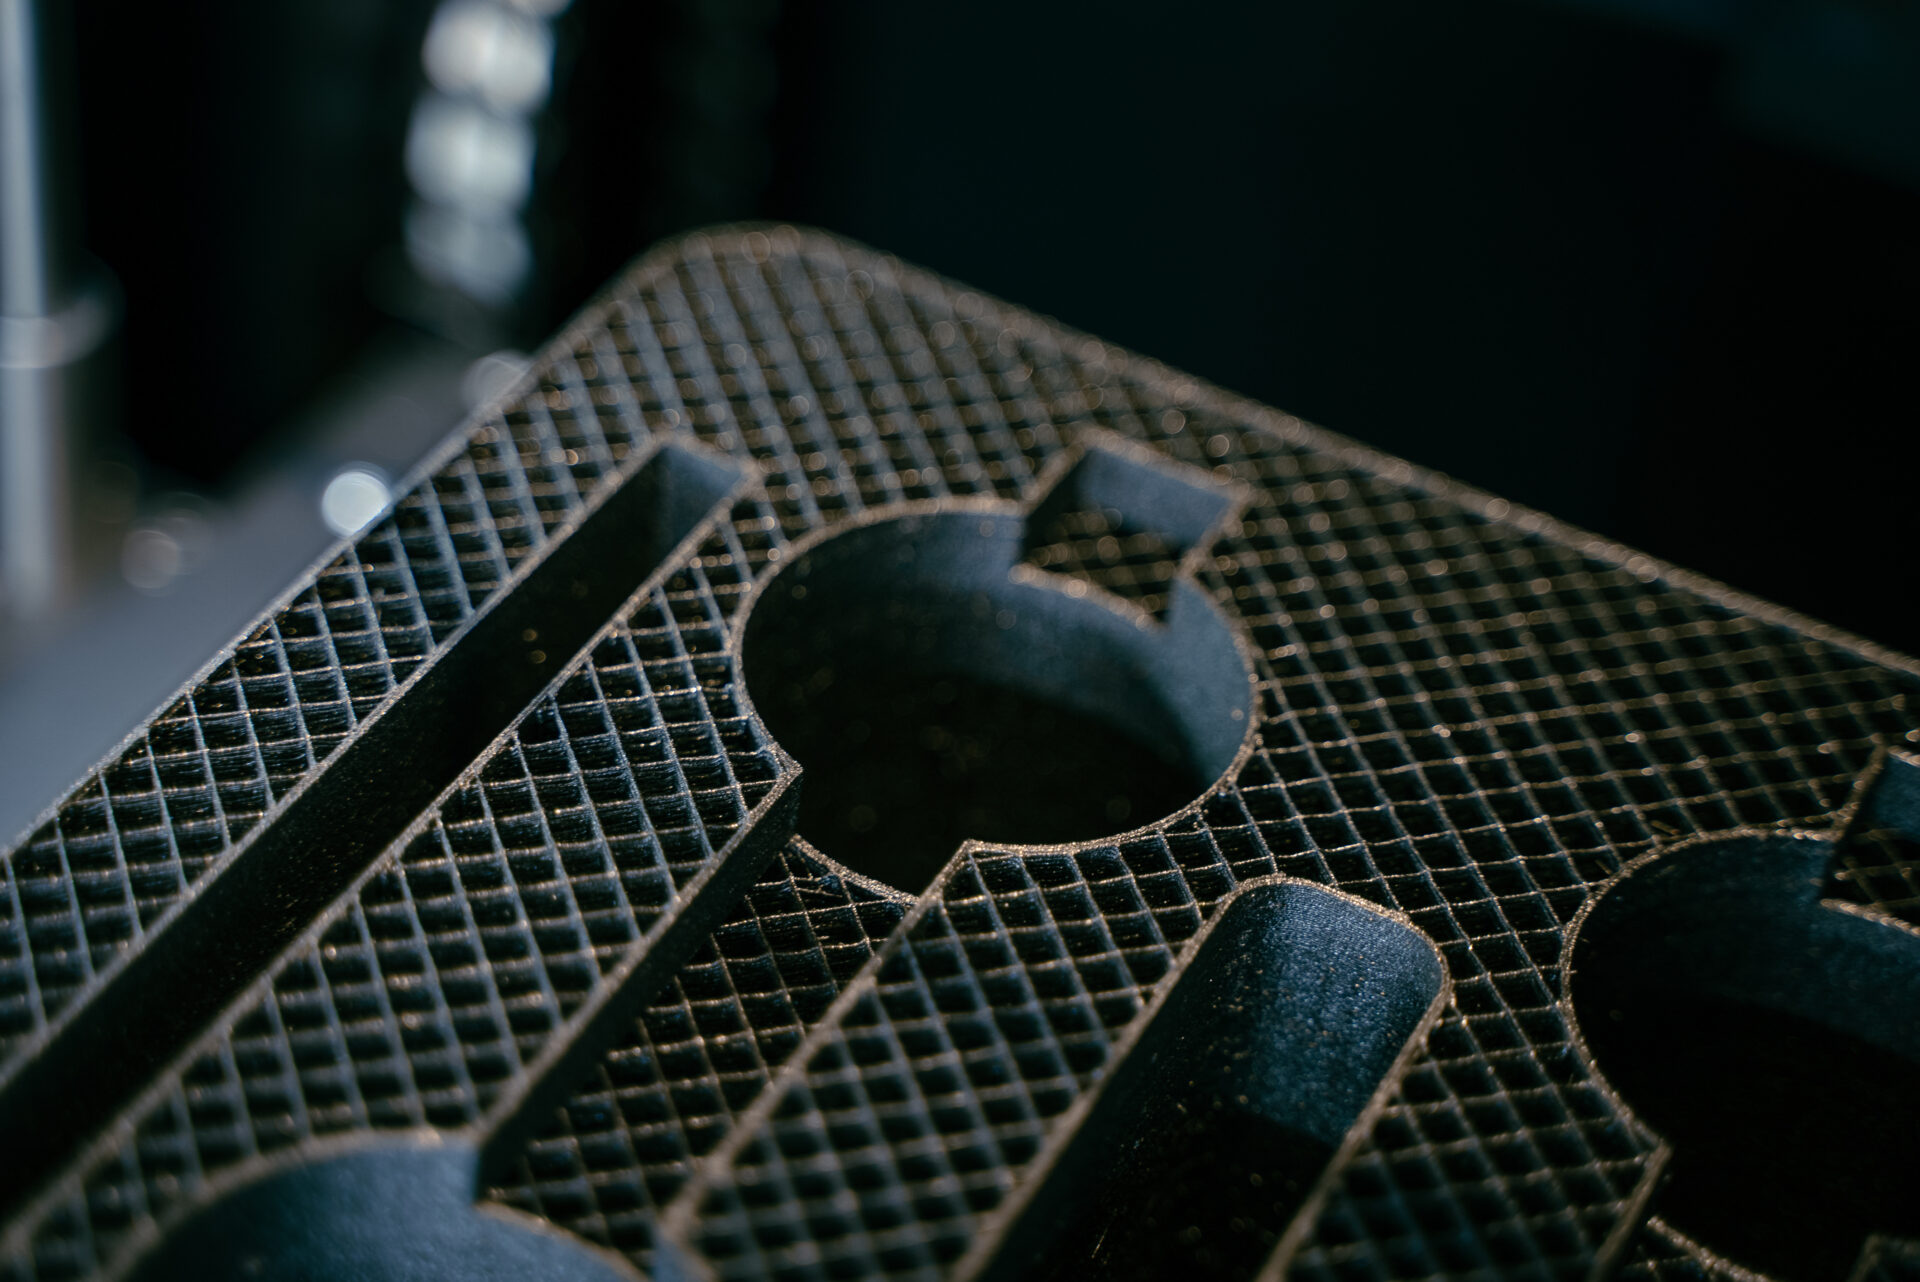
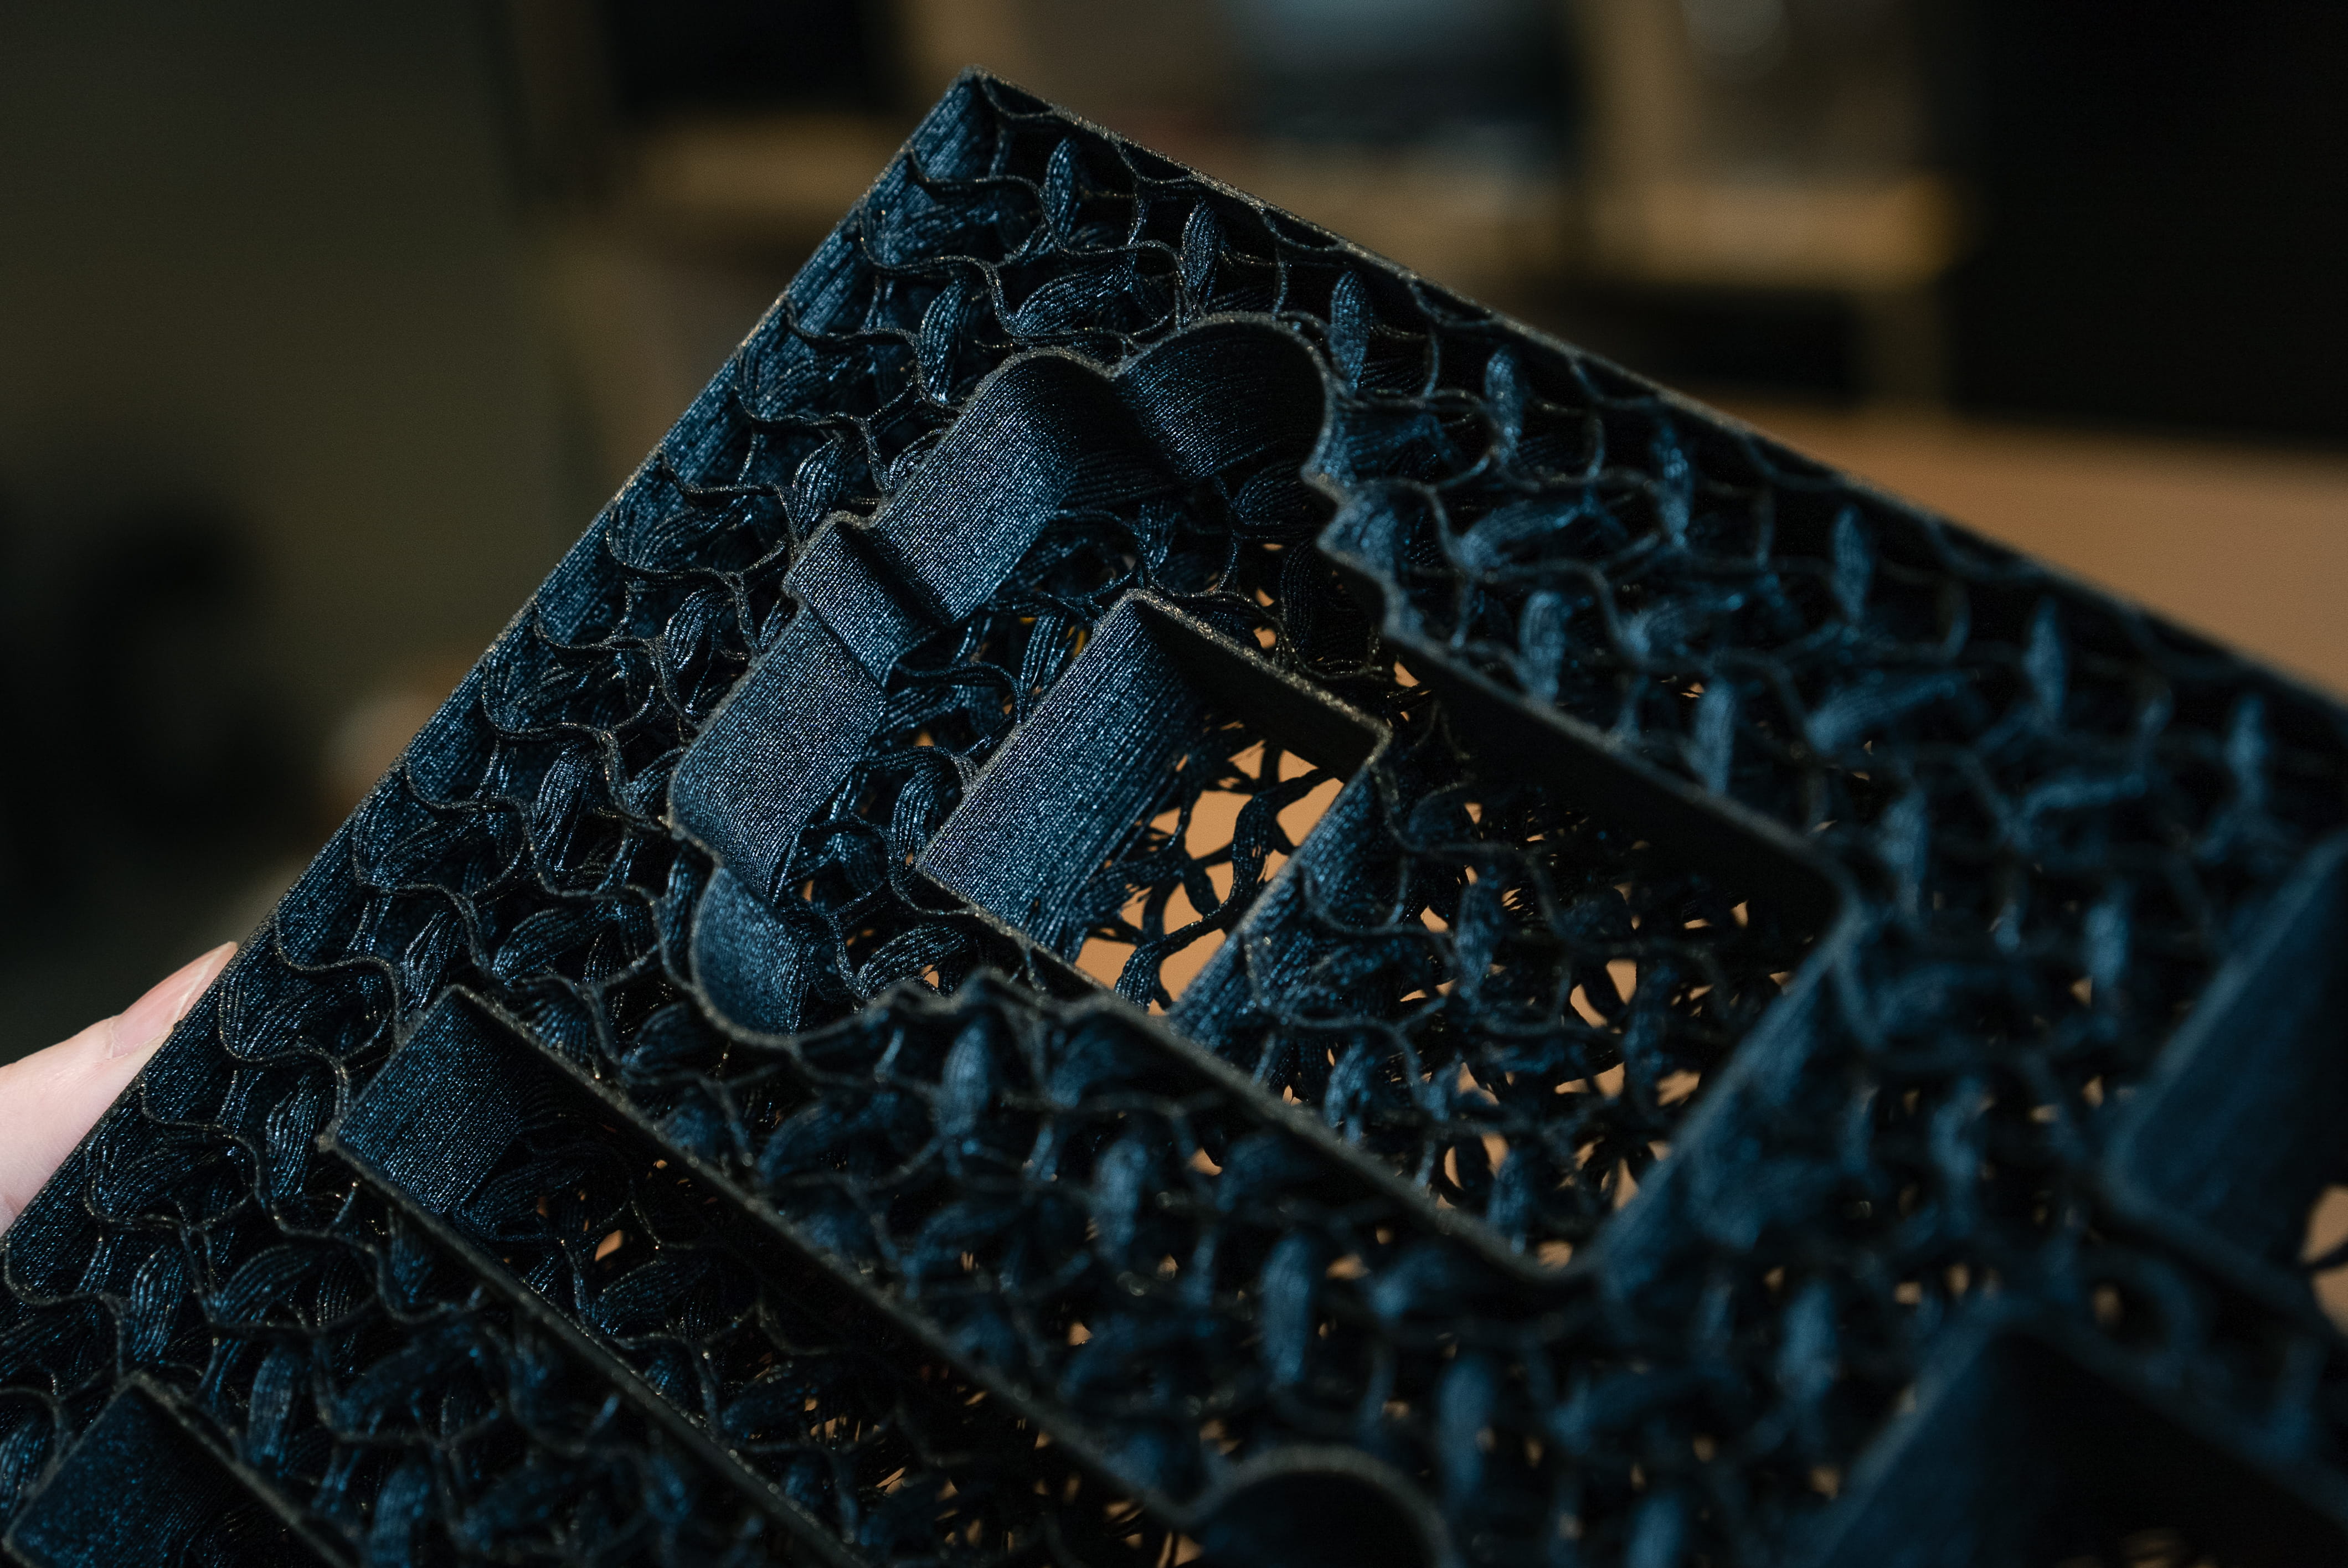
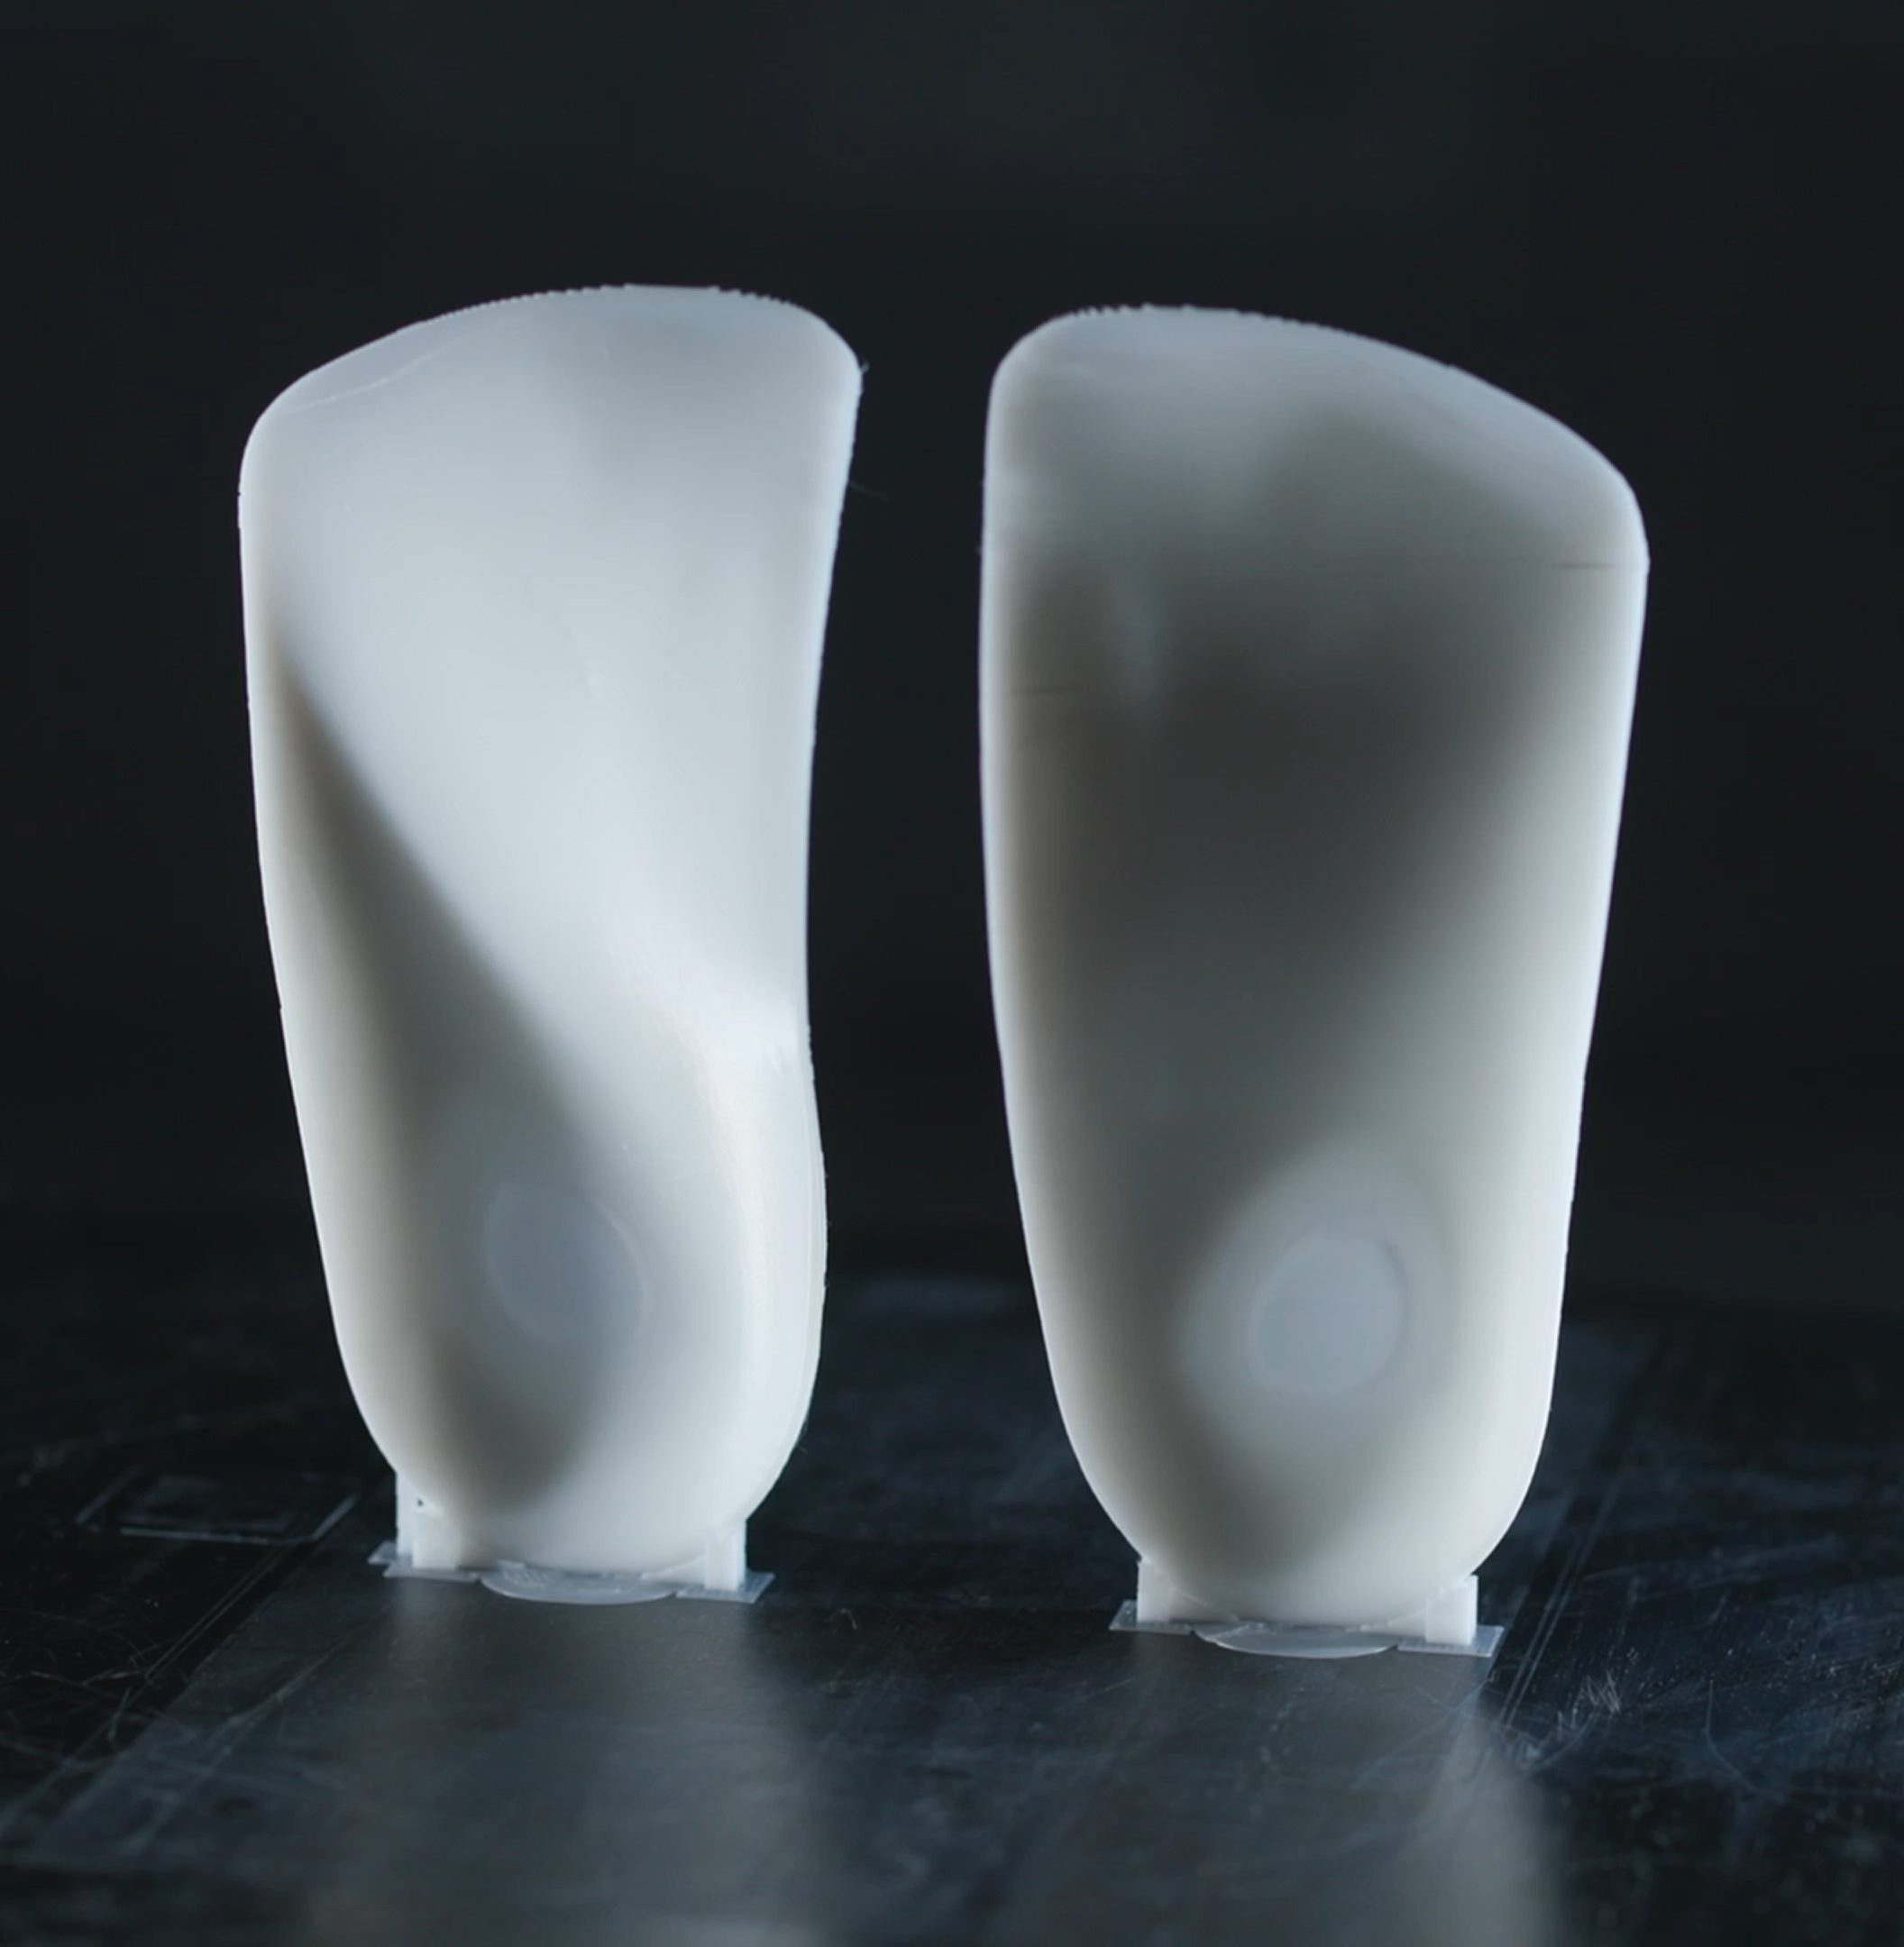
Lightweight the Part
Reduce overall part volume by introducing internal lattice
structures or hollow sections where possible. This not only
cuts material usage but also improves print time and reduces weight- especially critical for functional prototypes and end-use components.
- Remove excess material from solid regions that don’t contribute to structural performance
- Use tools such as finite element analysis (FEA) or topology optimization software to strategically remove mass while maintaining strength.
Minimize Wall Thickness
function. Thinner walls reduce material usage and print time,
but must still meet mechanical requirements.
- Align thickness with nozzle size and expected loading
conditions. - Ensure critical areas maintain strength where needed,
while minimizing excess elsewhere.
Minimize Supports
Support structures contribute to both material waste and added labor. Design your parts to reduce or eliminate them by:
- Incorporating self-supporting angles (generally below 45°).
- Reorienting parts to reduce overhangs.
Fewer supports mean faster post-processing, less material usage, and lower overall cost per part.

Use Fillets on Edges and Corners
Sharp edges and corners often require more material and can create areas of stress concentration. Filleting these areas can:
- Reduce stress and improve mechanical performance.
- Improve ergonomics and aesthetics.
- Contribute to more efficient material usage.
Filleting is the process of rounding sharp edges or internal corners in a part’s geometry.

By Streamlining Part Design
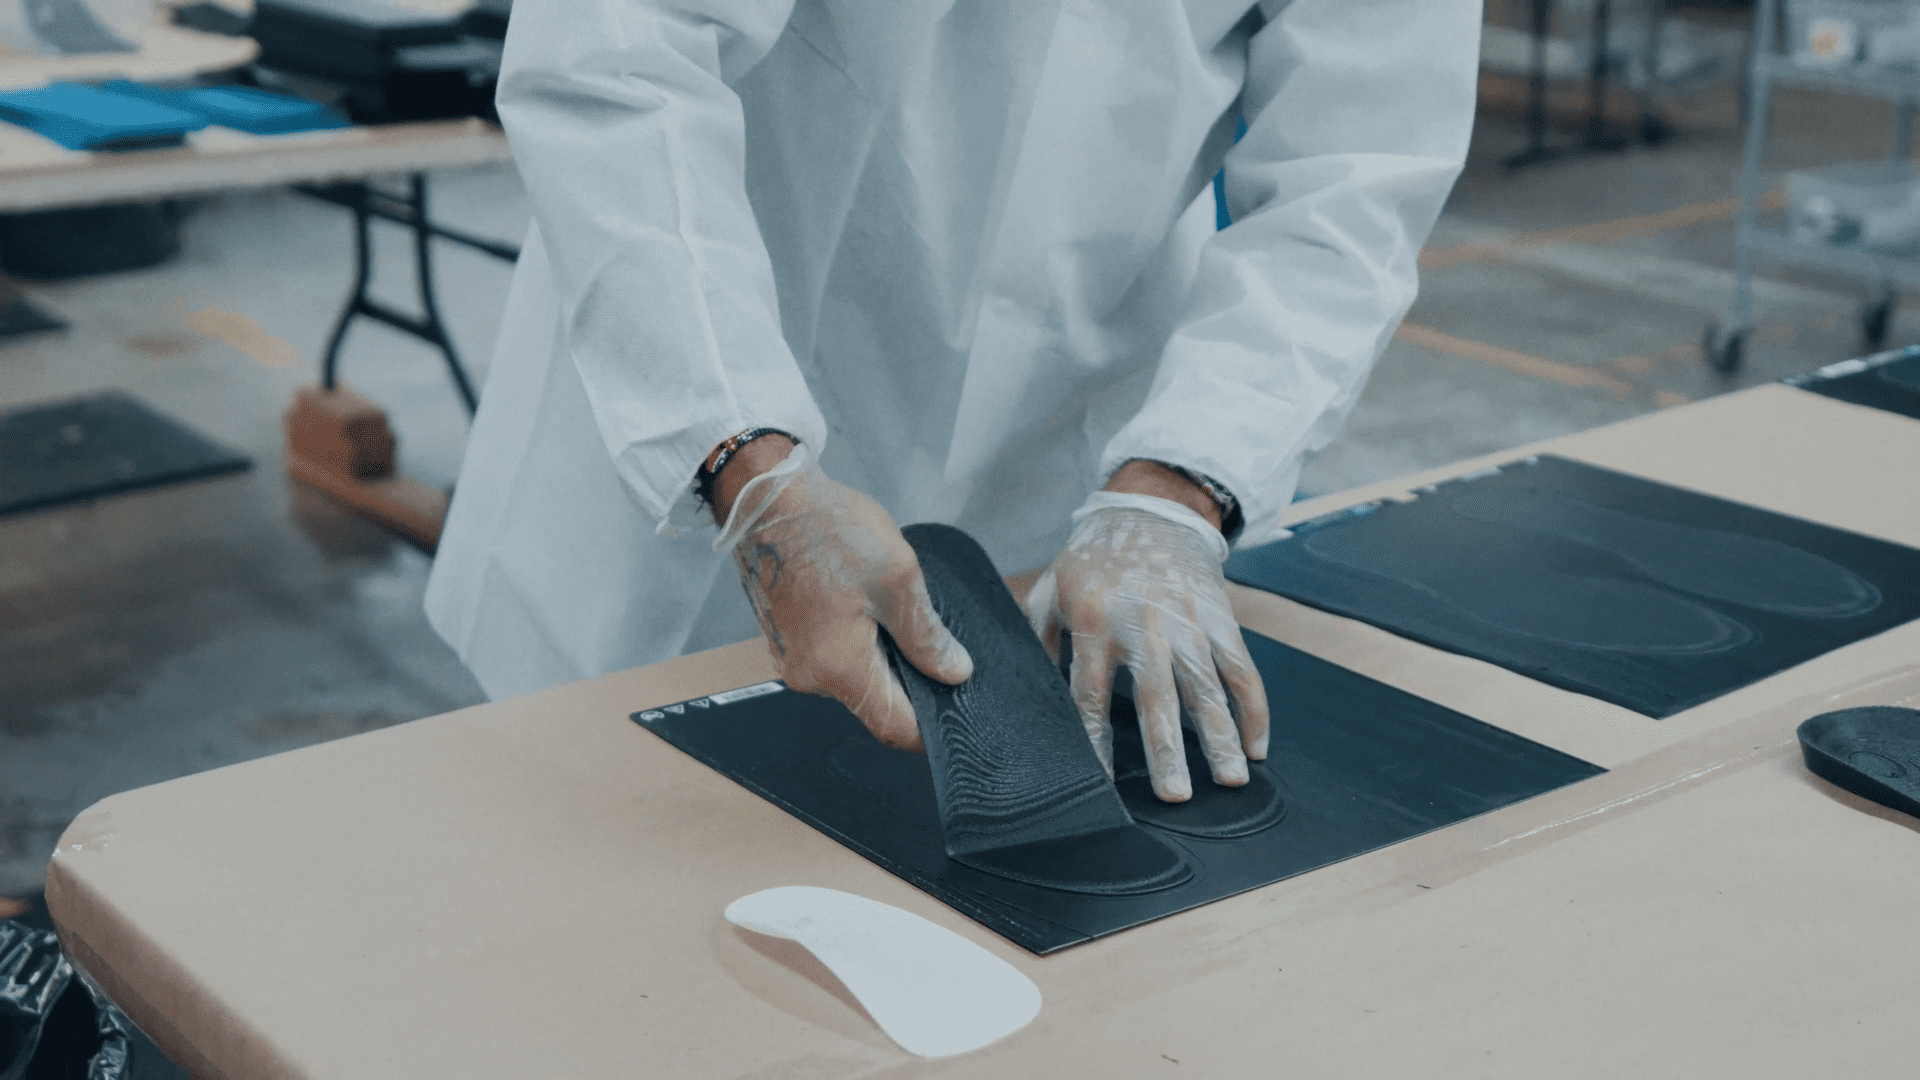
While material savings are a key cost driver, labor—especially during post-processing and assembly—can significantly impact total part cost. Thoughtful part design can reduce operator intervention, simplify finishing steps, and streamline production workflows.
Consolidate Multi-
Component Parts
Reduce the need for assembly and lower the risk of print failures by combining multiple components into a single, unified part.
- Fewer parts mean fewer assembly steps, less handling
time, and lower labor costs. - Consolidated parts can also improve strength and
reliability by eliminating mechanical fasteners or
adhesive joints.
Minimize Complex Features
Limit design elements that require secondary operations or laborious post-processing.
- Avoid or simplify features that demand support structures, tight tolerances, or post-machining.
- Streamlined geometries result in faster prints and reduced hands-on time.
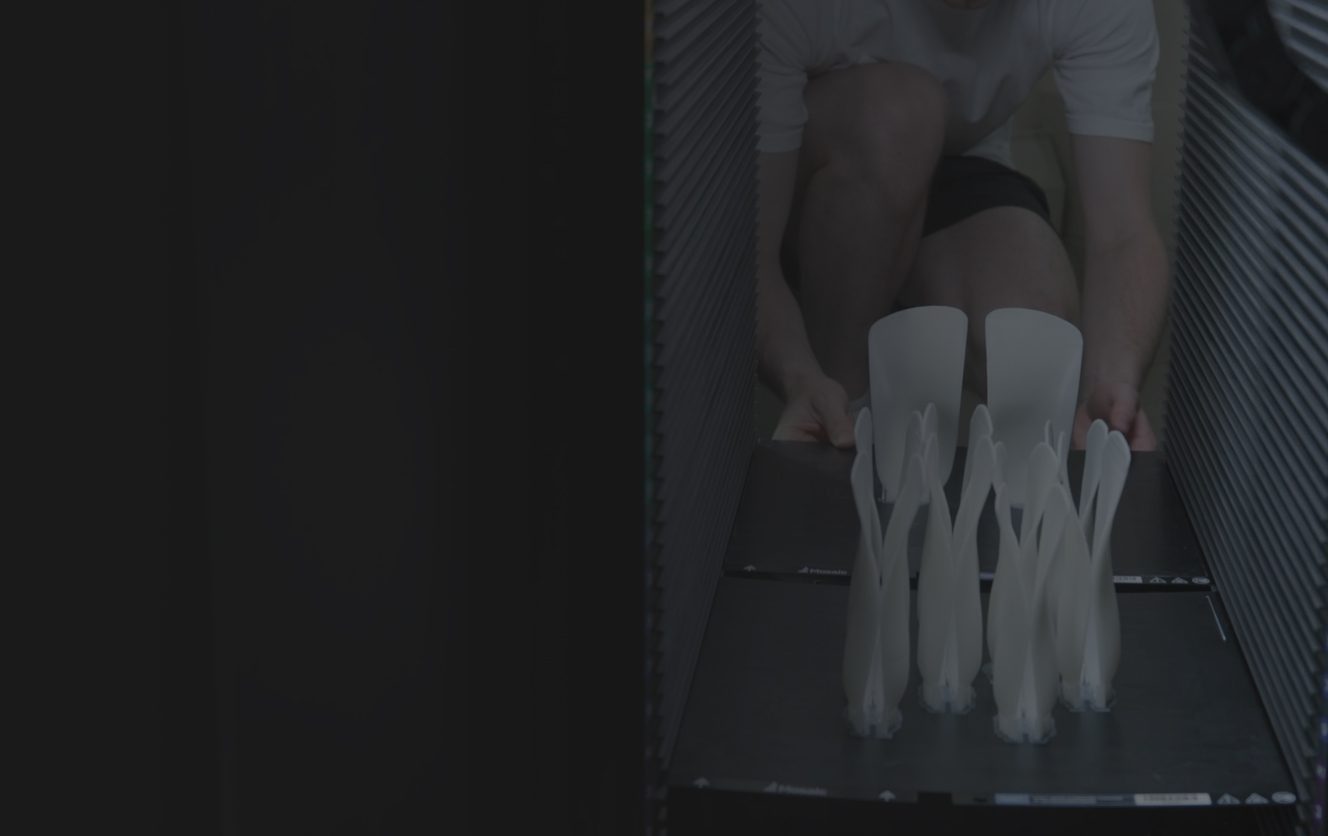
Design for Batch
Production
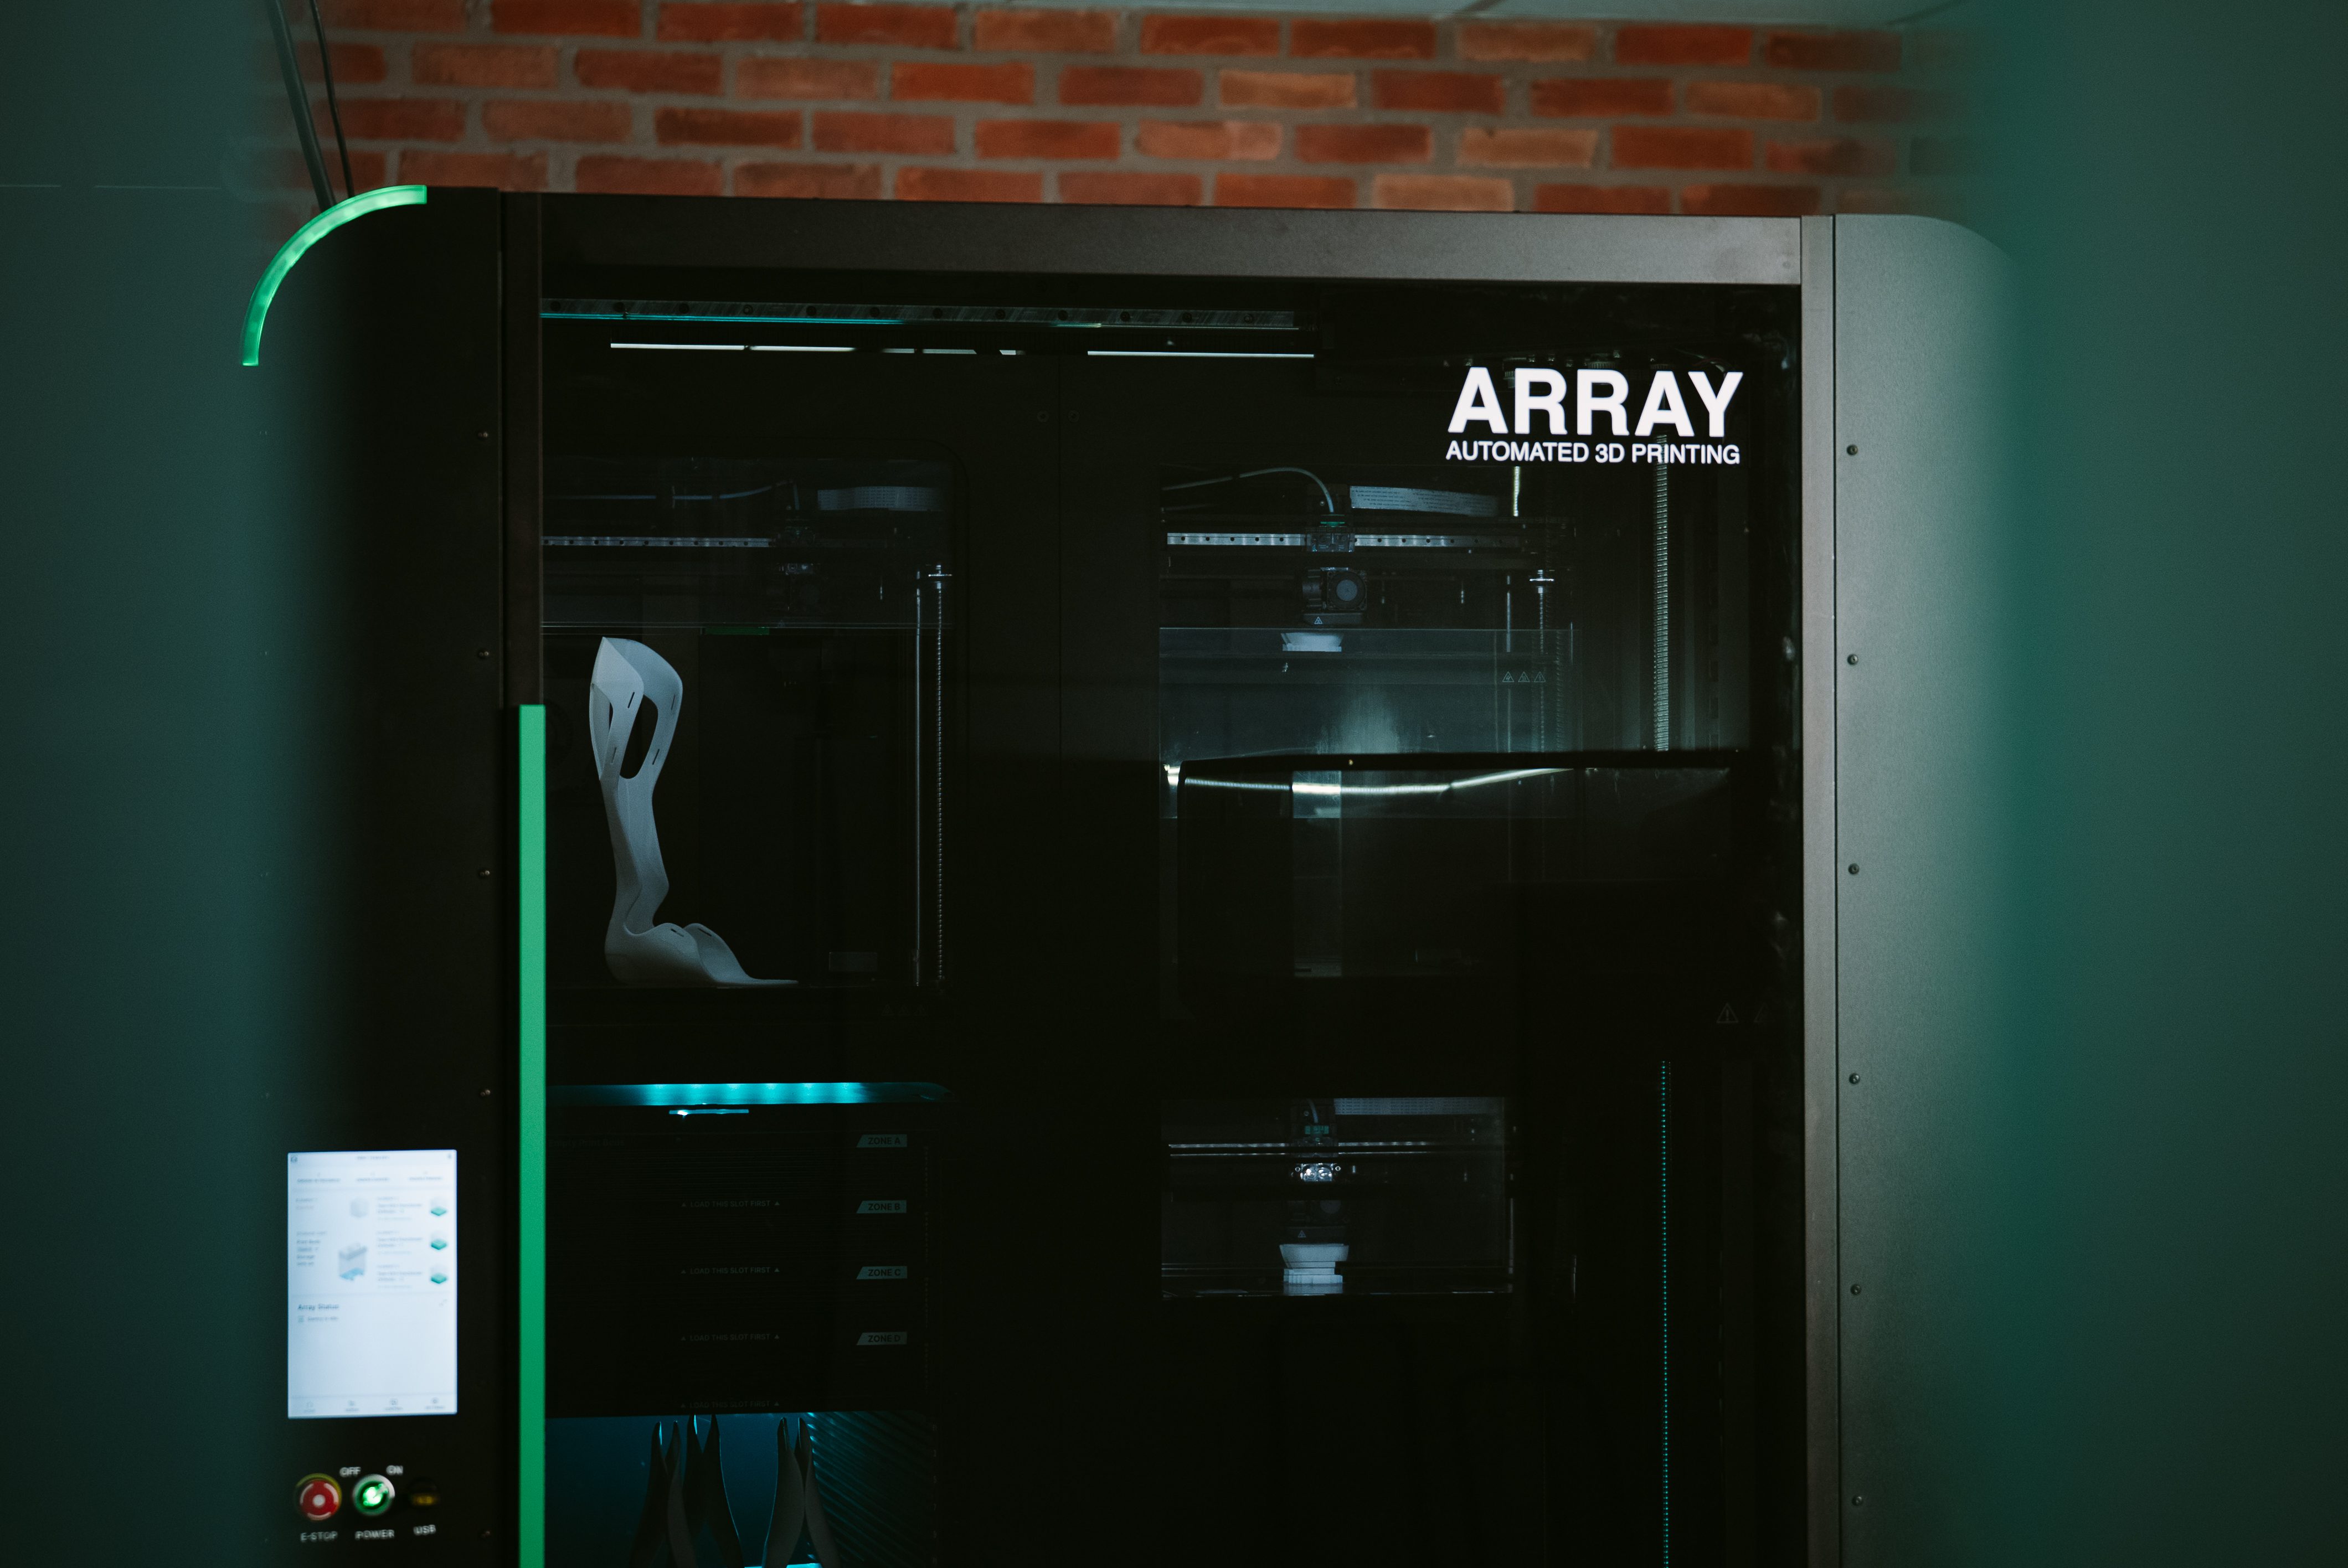
Maximize printer utilization by designing parts that can be printed in multiples within a single build cycle.
- Nest or arrange parts efficiently to minimize print time
and increase throughput. - Automate production with systems like Array to reduce
operator intervention and achieve greater consistency
at scale.

By Thoroughly Analyzing Your Application
Getting the most value out of your additive manufacturing process means designing parts that are not only printable, but also aligned with your printer’s capabilities, your material selection, and your functional requirements. A well-informed approach can prevent failures, reduce waste, and avoid over-engineering.
Know Your Printer
Work within your system’s capabilities in order to
facilitate best results.
- Factor in build volume, resolution, material compatibility,
and mechanical tolerances early in your design process. - Use proper print settings (e.g. layer height, speed,
temperature) to ensure quality and reliability. - Calibrate infill patterns and density to meet functional
strength targets while minimizing excess material.

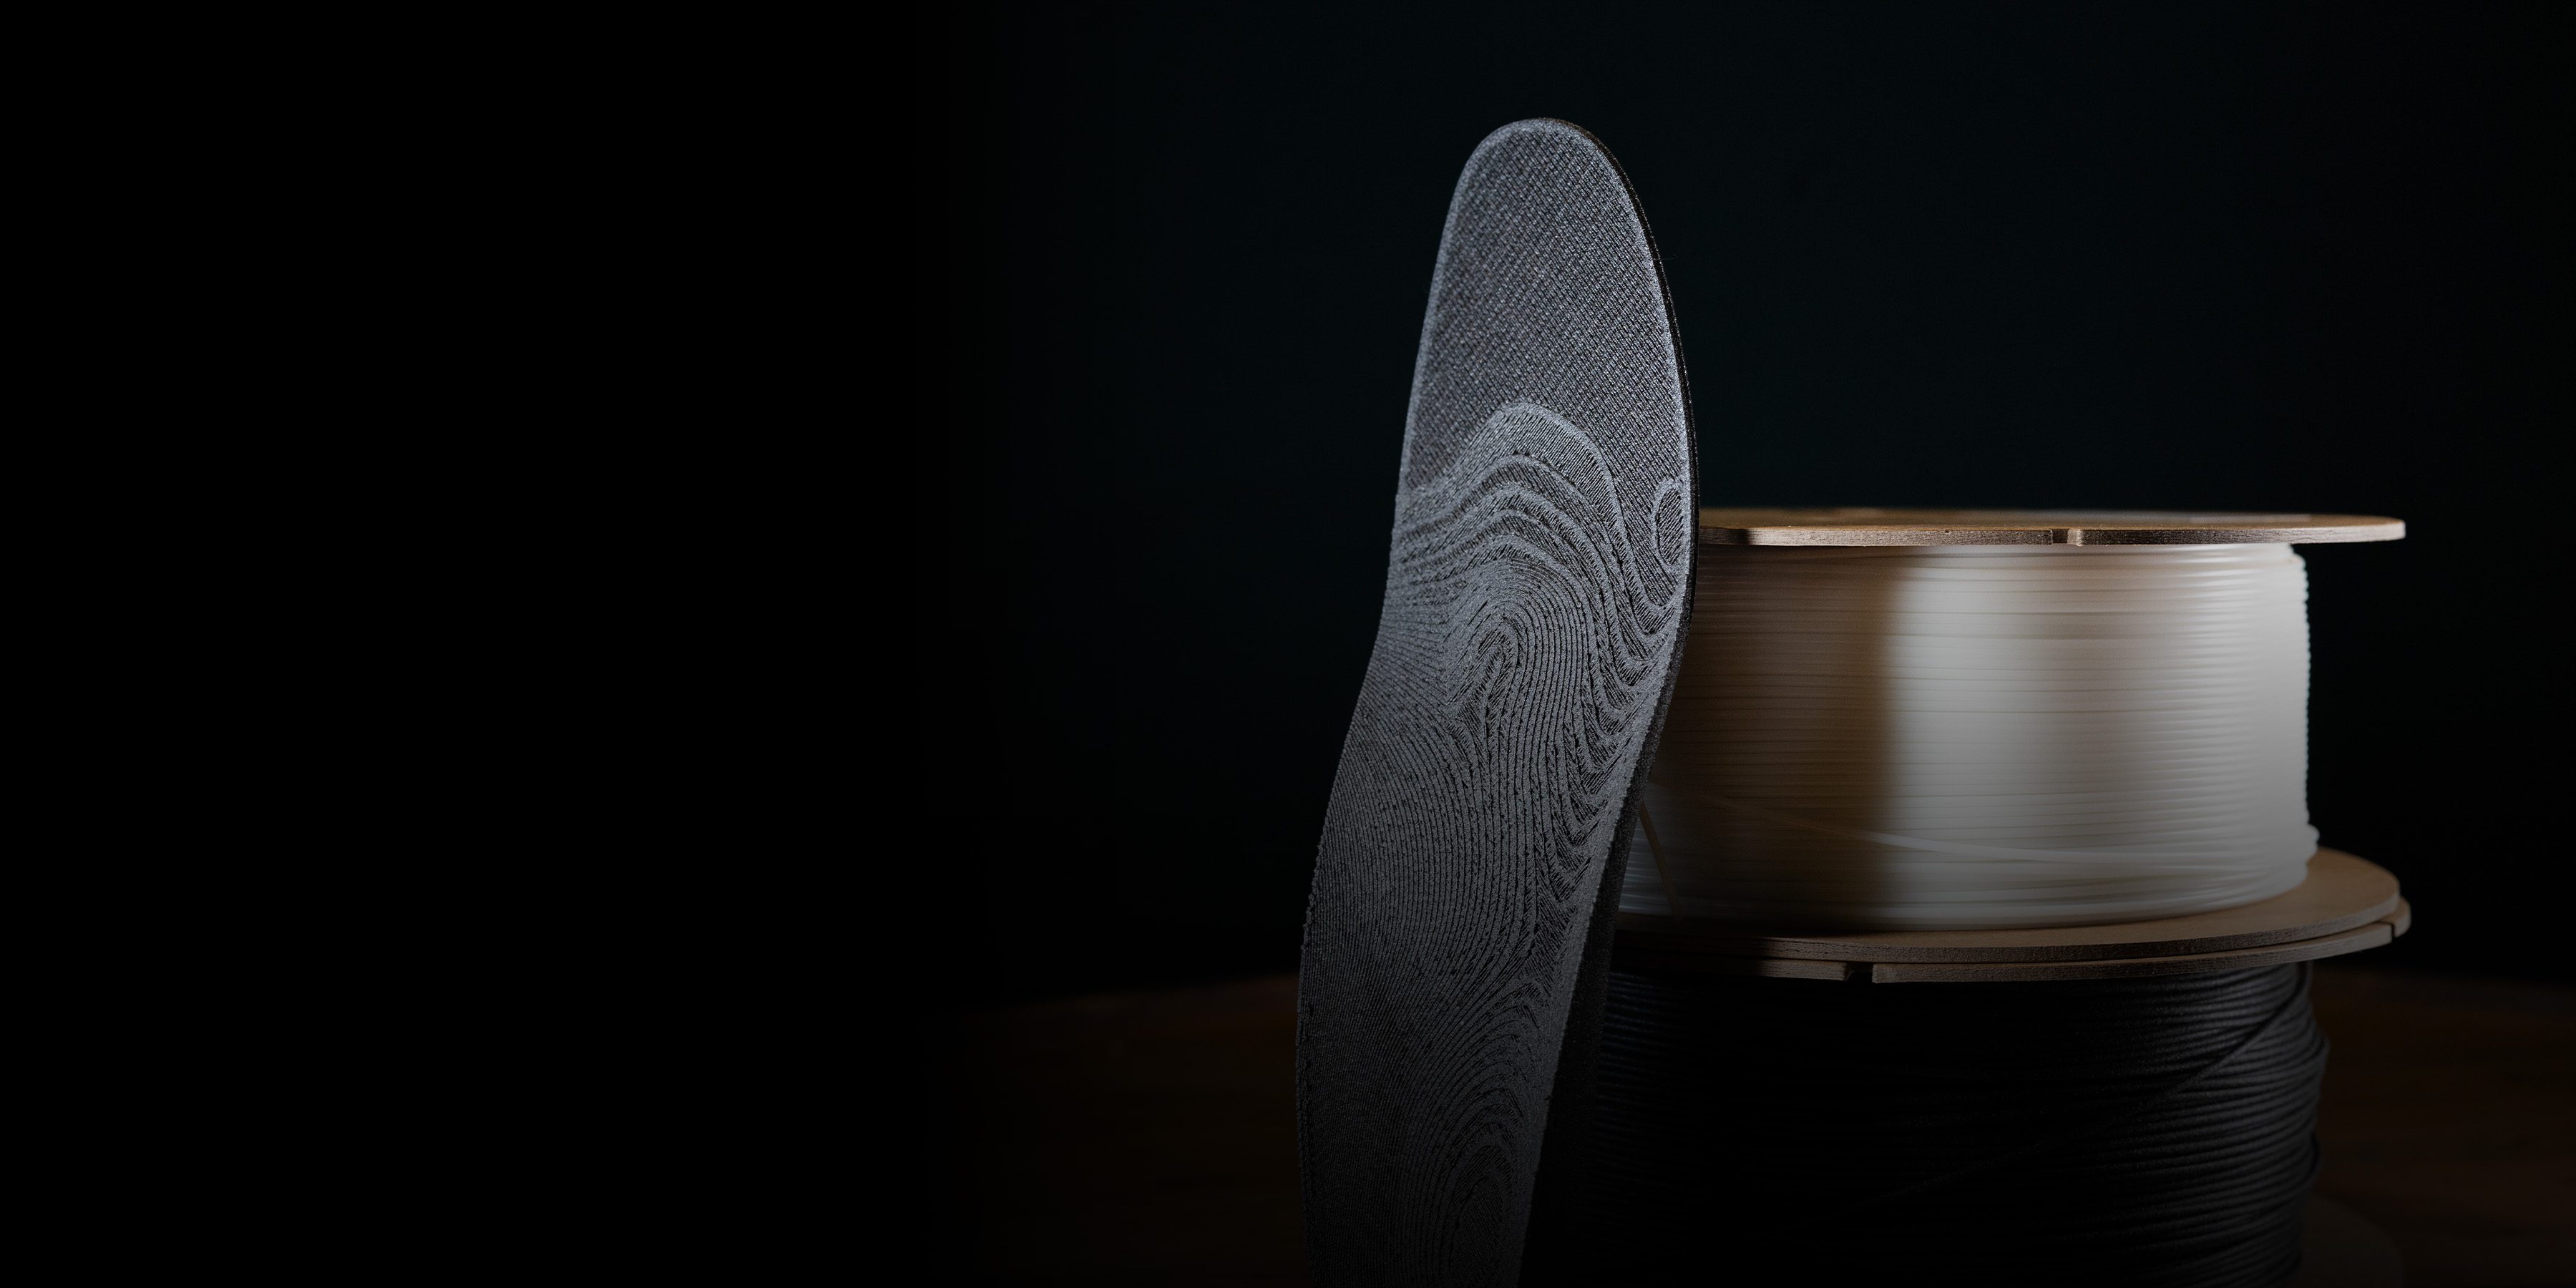
Know Your Application
Understand how your part will be used and what forces it will experience in real-world conditions.
- Orient parts so that printed layers support mechanical
loads rather than resist them. - Select materials that match your durability, flexibility, and environmental needs – starting with cost-effective polymers (e.g., PLA, ABS) before moving to high-performance options (PEEK or PEKK) when necessary.
Anticipate Your
Required Quantity
Avoid overproduction and unnecessary investment by aligning design efforts with actual production volume.
- Focus design time and effort where it adds the most value.
- For larger runs, optimize your design for batch manufacturing to reduce cost per part and increase system efficiency.

The smarter your design, the greater the return.
Reducing part cost in additive manufacturing isn’t the result of a single decision—it’s the outcome of
thoughtful, well-informed design choices implemented throughout your workflow. By applying DfAM principles from the initial concept through to post-processing and assembly, teams can produce parts that are not only functional and reliable, but also optimized for efficiency, scalability, and cost-effectiveness.
Whether you’re creating prototypes, production components, or anything in between, let this guide serve as a practical reference to help you get the most from your additive manufacturing system, every step of the way.