Every foam fabricator knows the math. A customer calls with a twenty-unit order for a custom case insert with an irregular profile, maybe a camera body, a precision tool, something with pockets and contours. The job will take half a day to cut, laminate, and finish. The set up time alone eats the margin. You quote it anyway because the account matters, and you absorb the loss.
The math is why die-cut and waterjet foam, reliable, familiar, and cost-effective at volume, starts to break down the moment a customer needs something custom at low quantities. And increasingly, that low-volume high-customization work is exactly what customers are asking for.
3D printed foam is a direct answer to that problem. This blog explains how it compares to traditional foam fabrication methods, where the economics actually work in its favor, and how to evaluate whether it belongs in your production workflow.
The traditional methods and where they struggle
Die-cutting
Die-cutting is the workhorse of high-volume foam packaging. Tooling costs run $200 to $800 or more per die, and the economics only work once that cost is spread across a large enough run, typically requiring hundreds or thousands of units to efficiently amortize tooling costs. At that scale, die-cutting is fast and highly efficient.
Below that threshold, the cost per part climbs steeply. For custom orders in the tens or low hundreds of units, you are paying tooling cost upfront and spreading it across too few parts to recover it. And when the customer wants a design revision? New die.
CNC and waterjet cutting
CNC and waterjet avoid tooling costs entirely, which makes them far more flexible at low volumes. For simple, flat profiles, they are often the most cost-effective option for runs under a few hundred units.
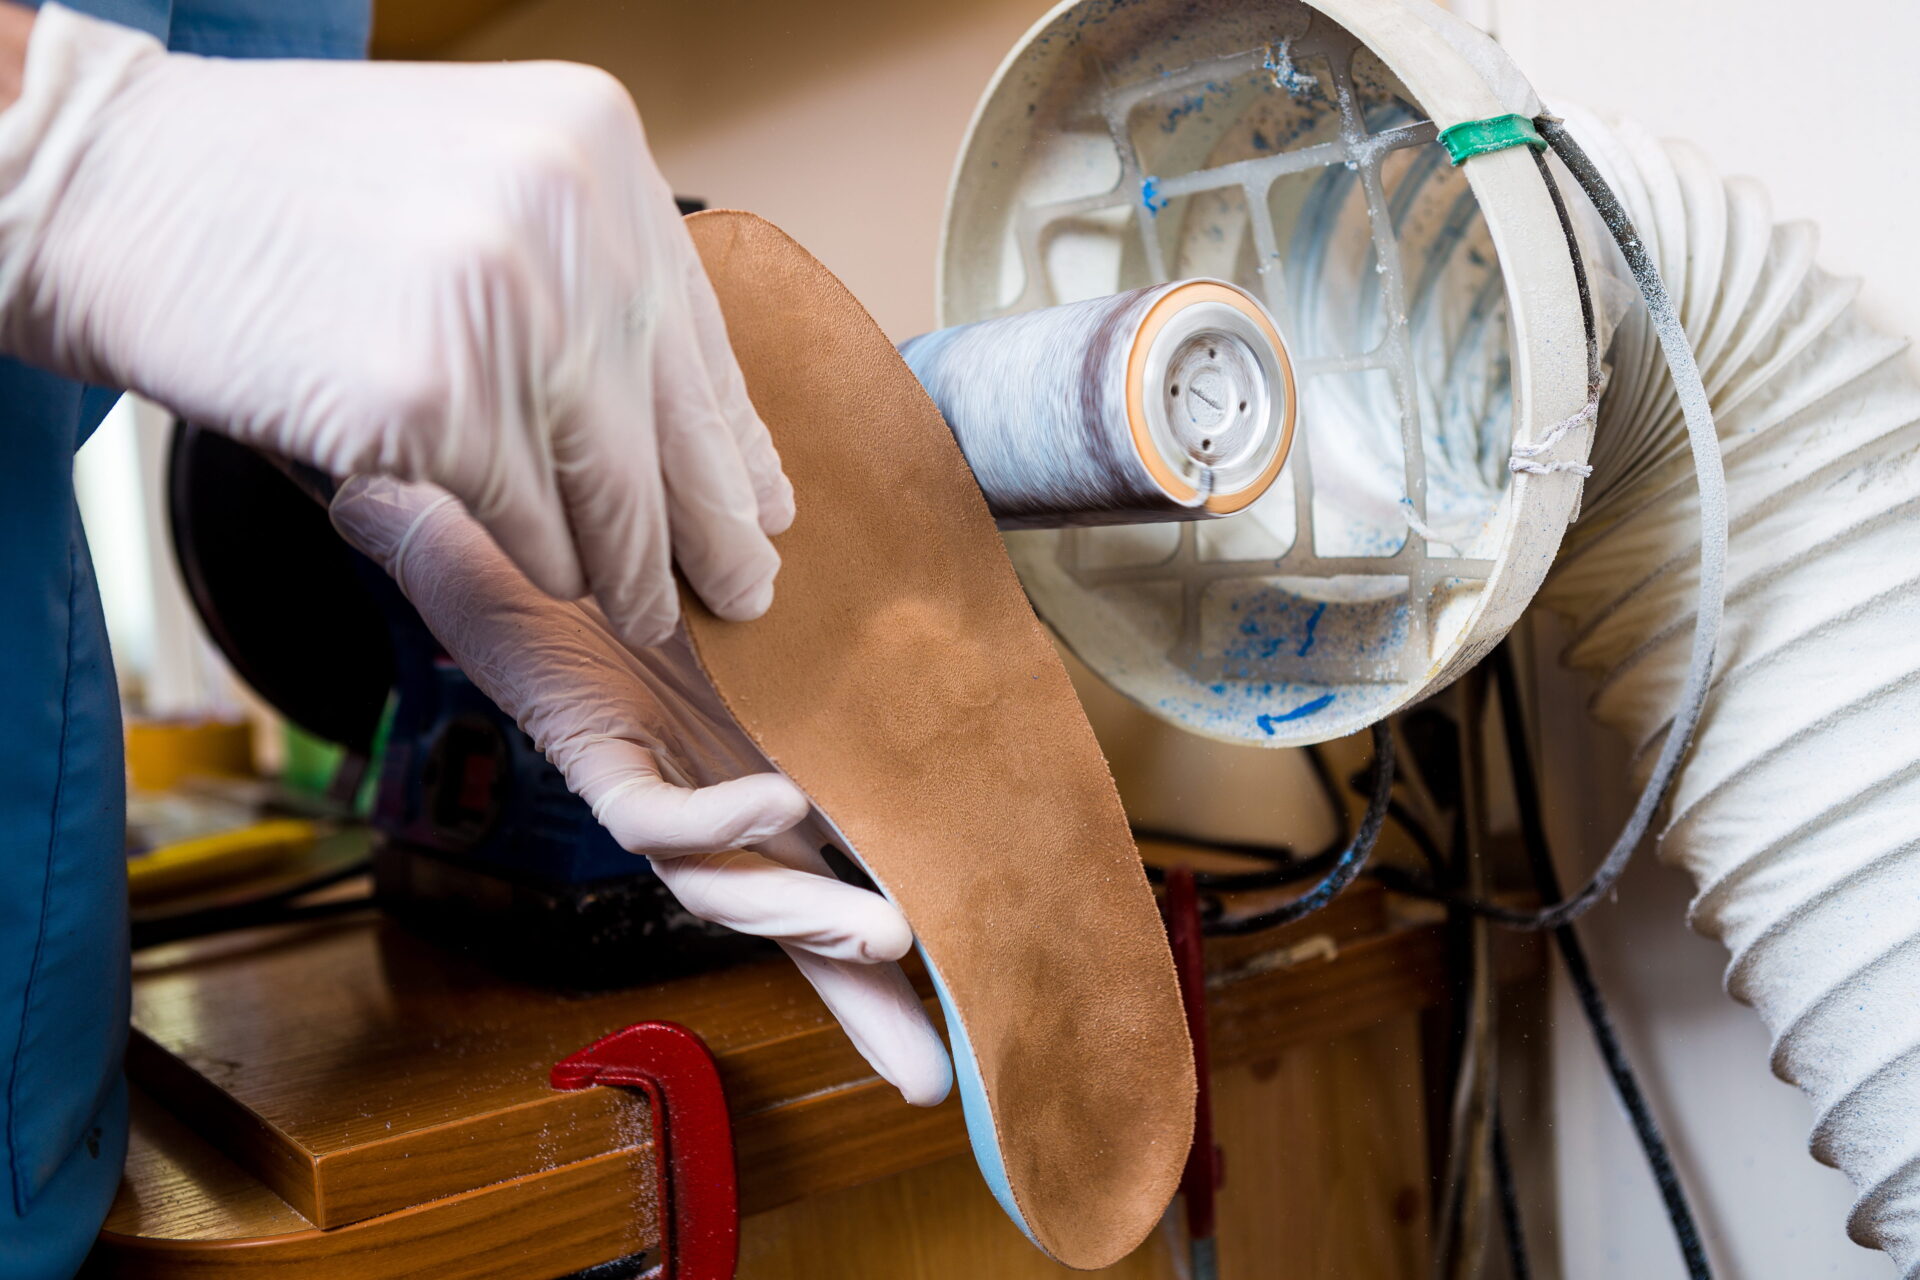
The limitation is geometry. Waterjet systems primarily produce through-cut geometry, unable to create pockets, recesses, or variable-depth features in a single pass. Any part requiring depth variation must be produced as separate layers and laminated together, adding labor, bonding time, and consistency variability between operators.
For complex geometries like multi-cavity inserts, parts with channels, inserts designed to cradle irregular shapes, CNC and waterjet require multi-step assembly that adds significant labor cost to every job.
The design approval loop
What 3D printed foam changes
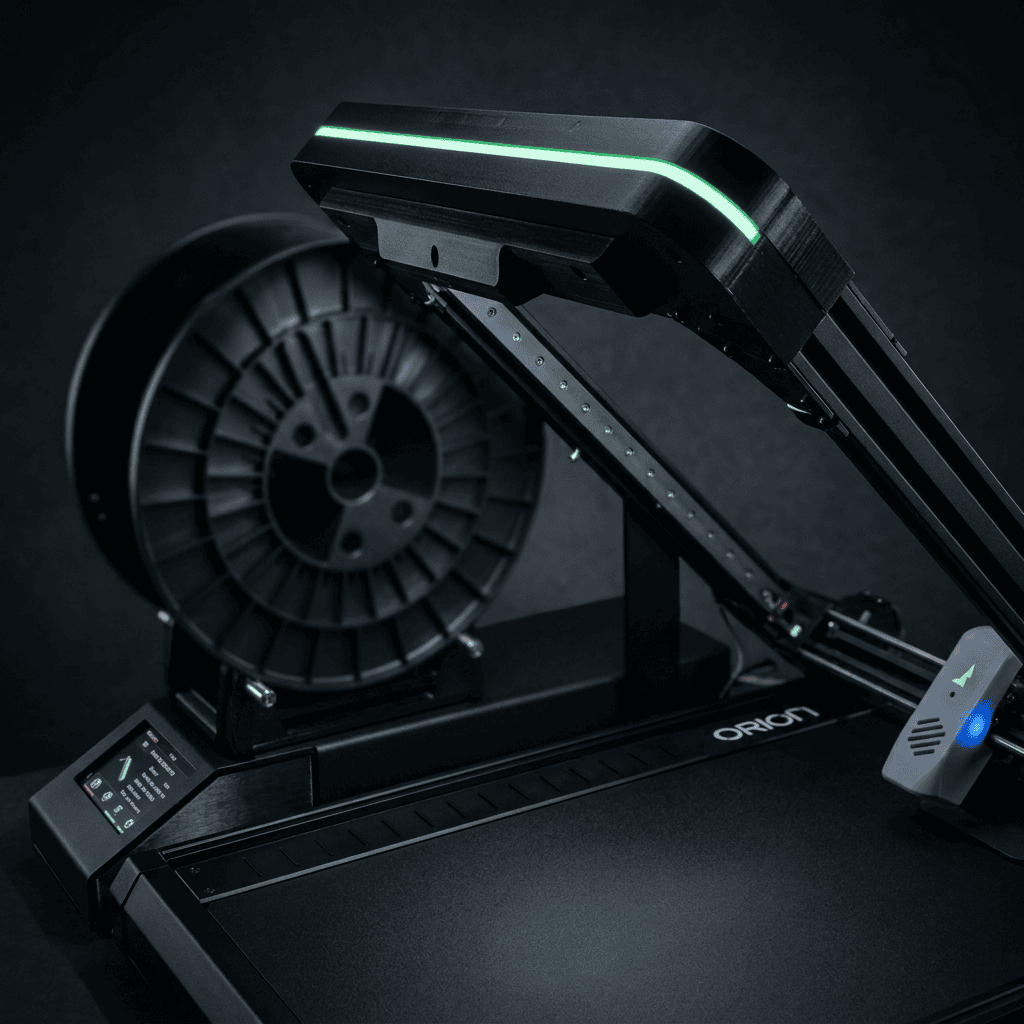
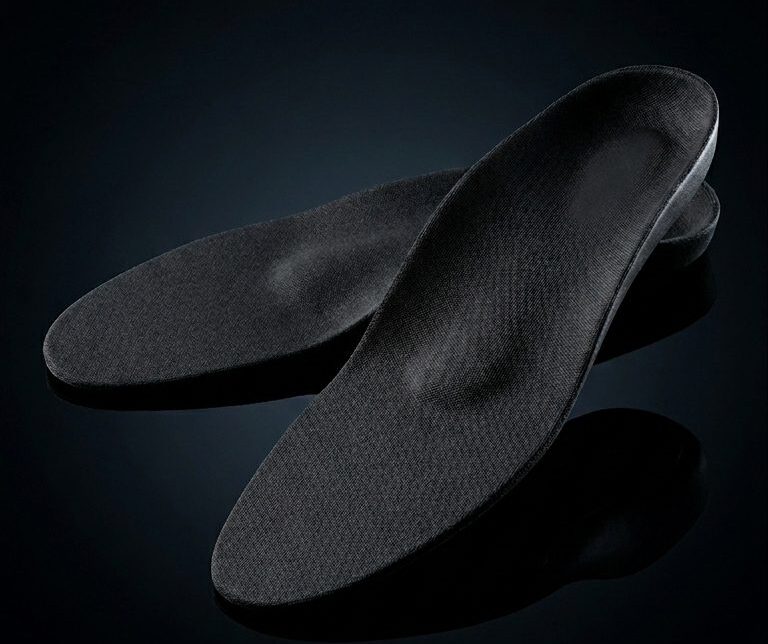
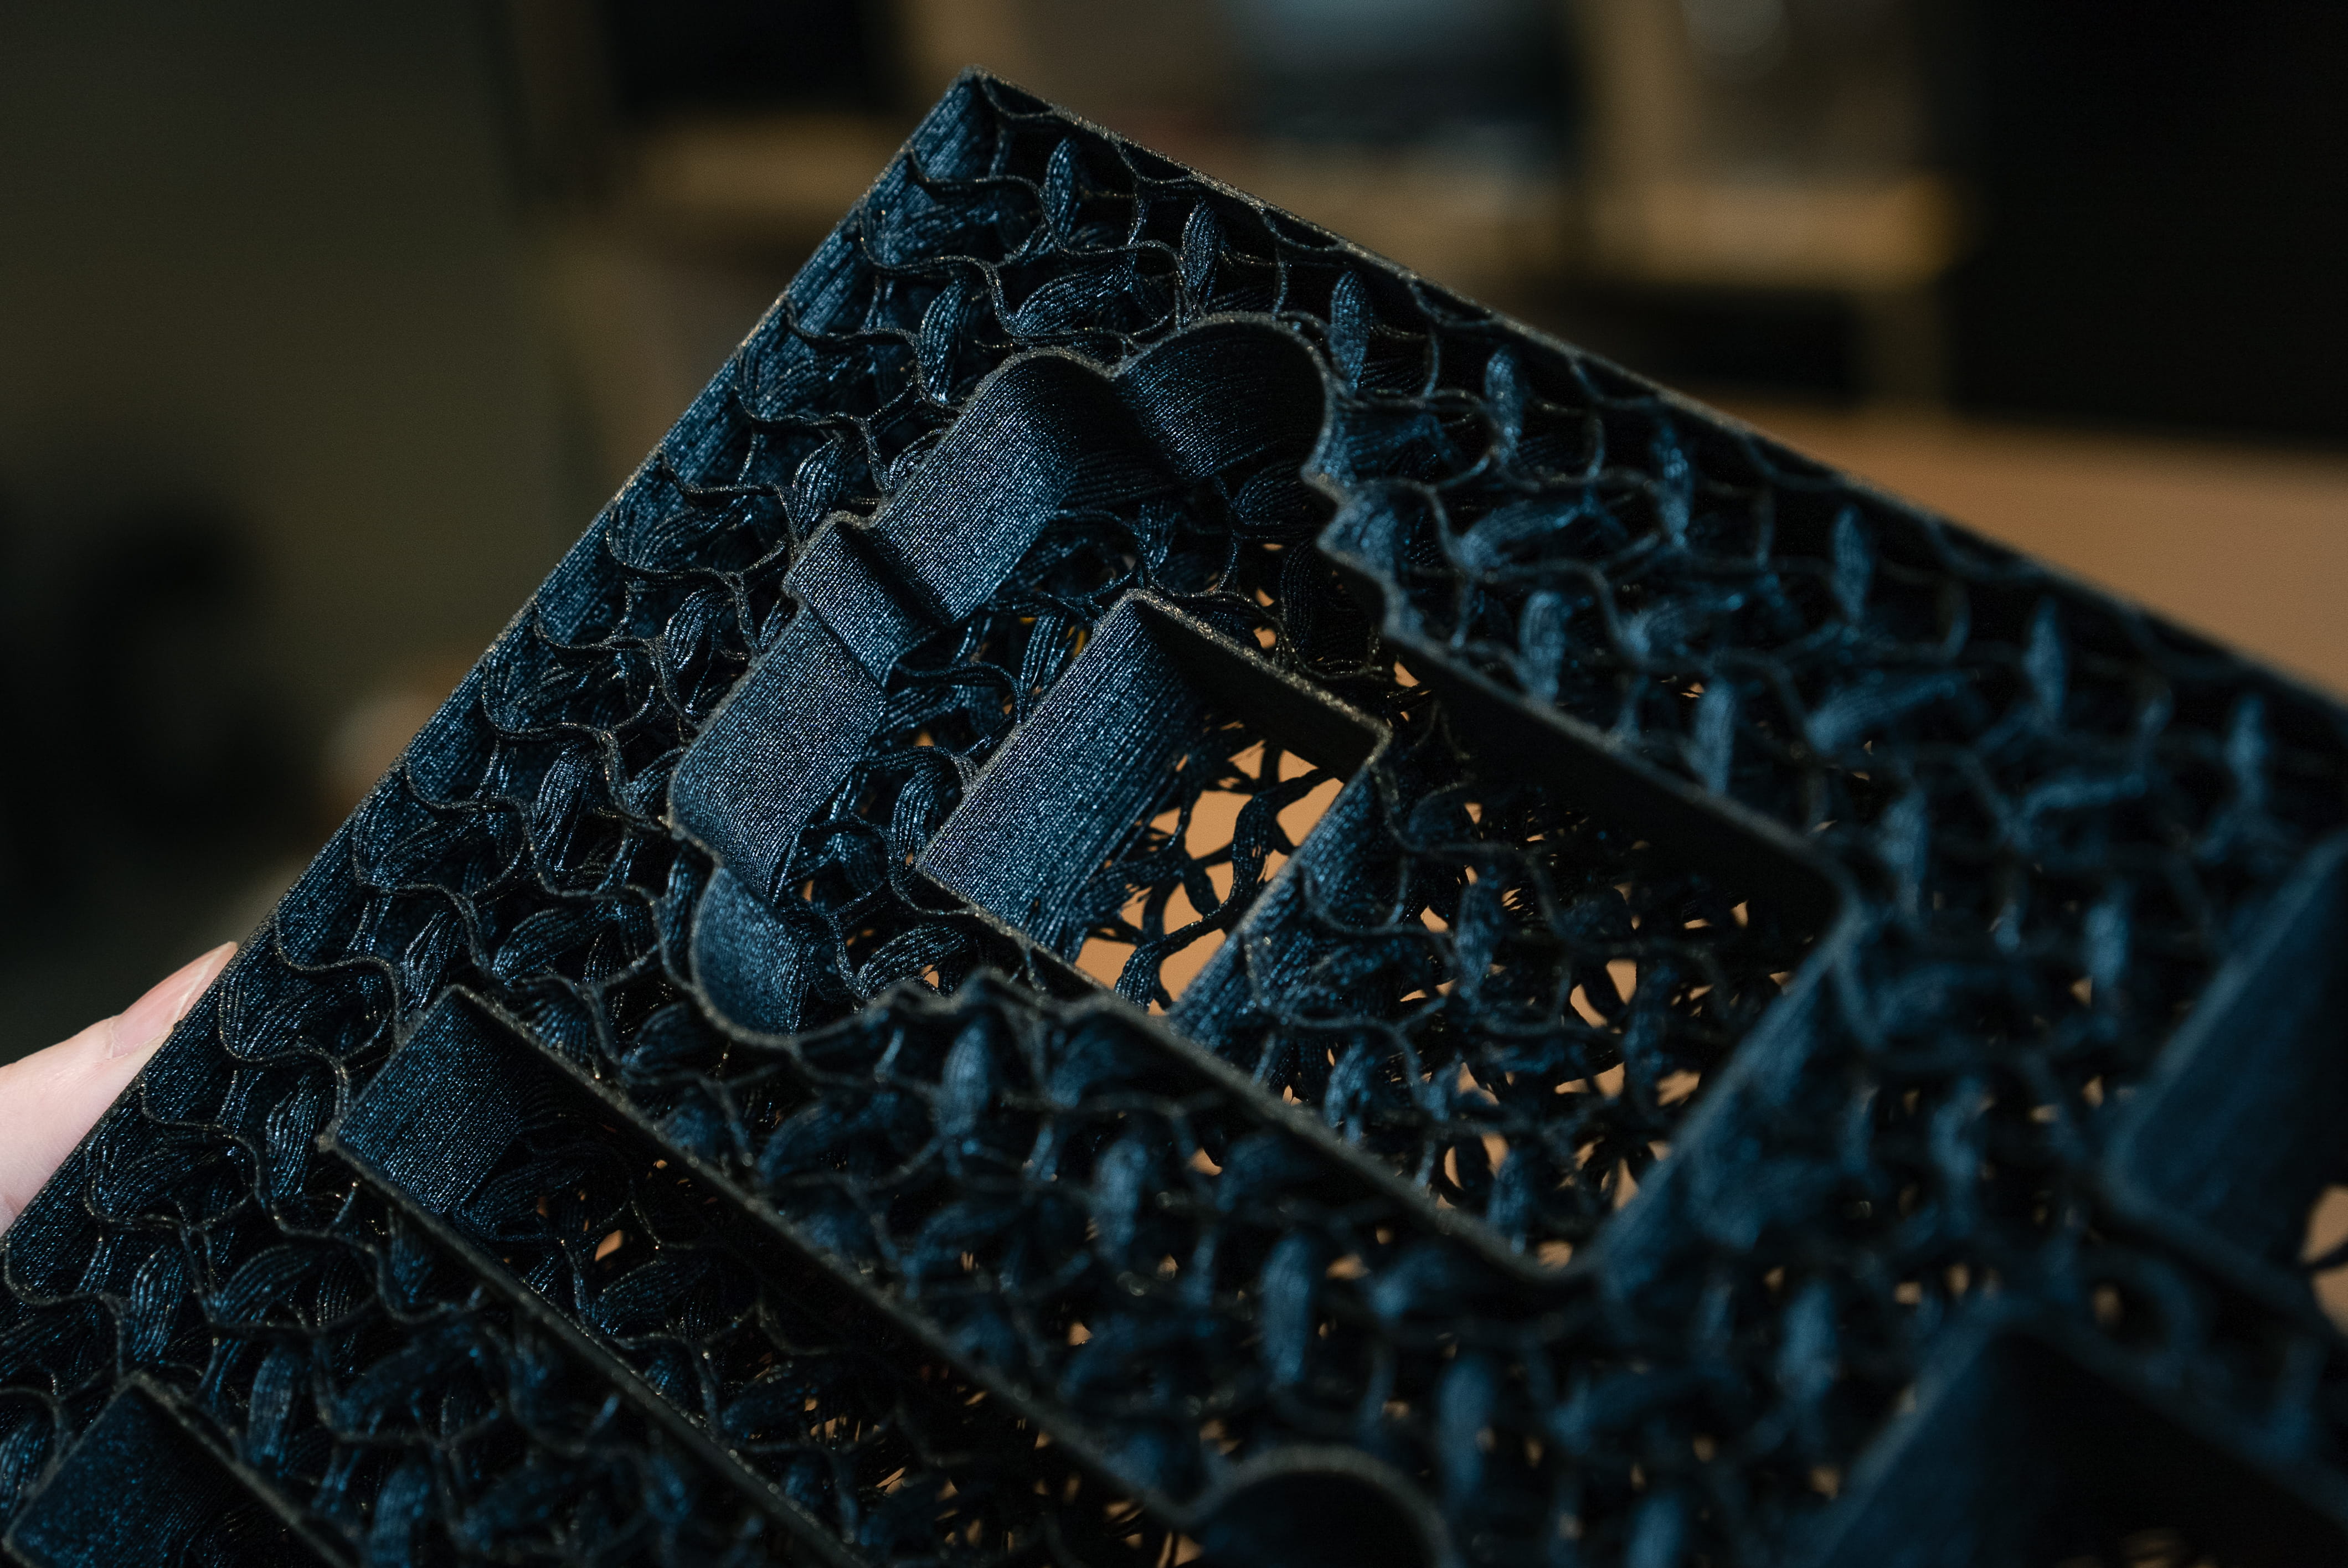
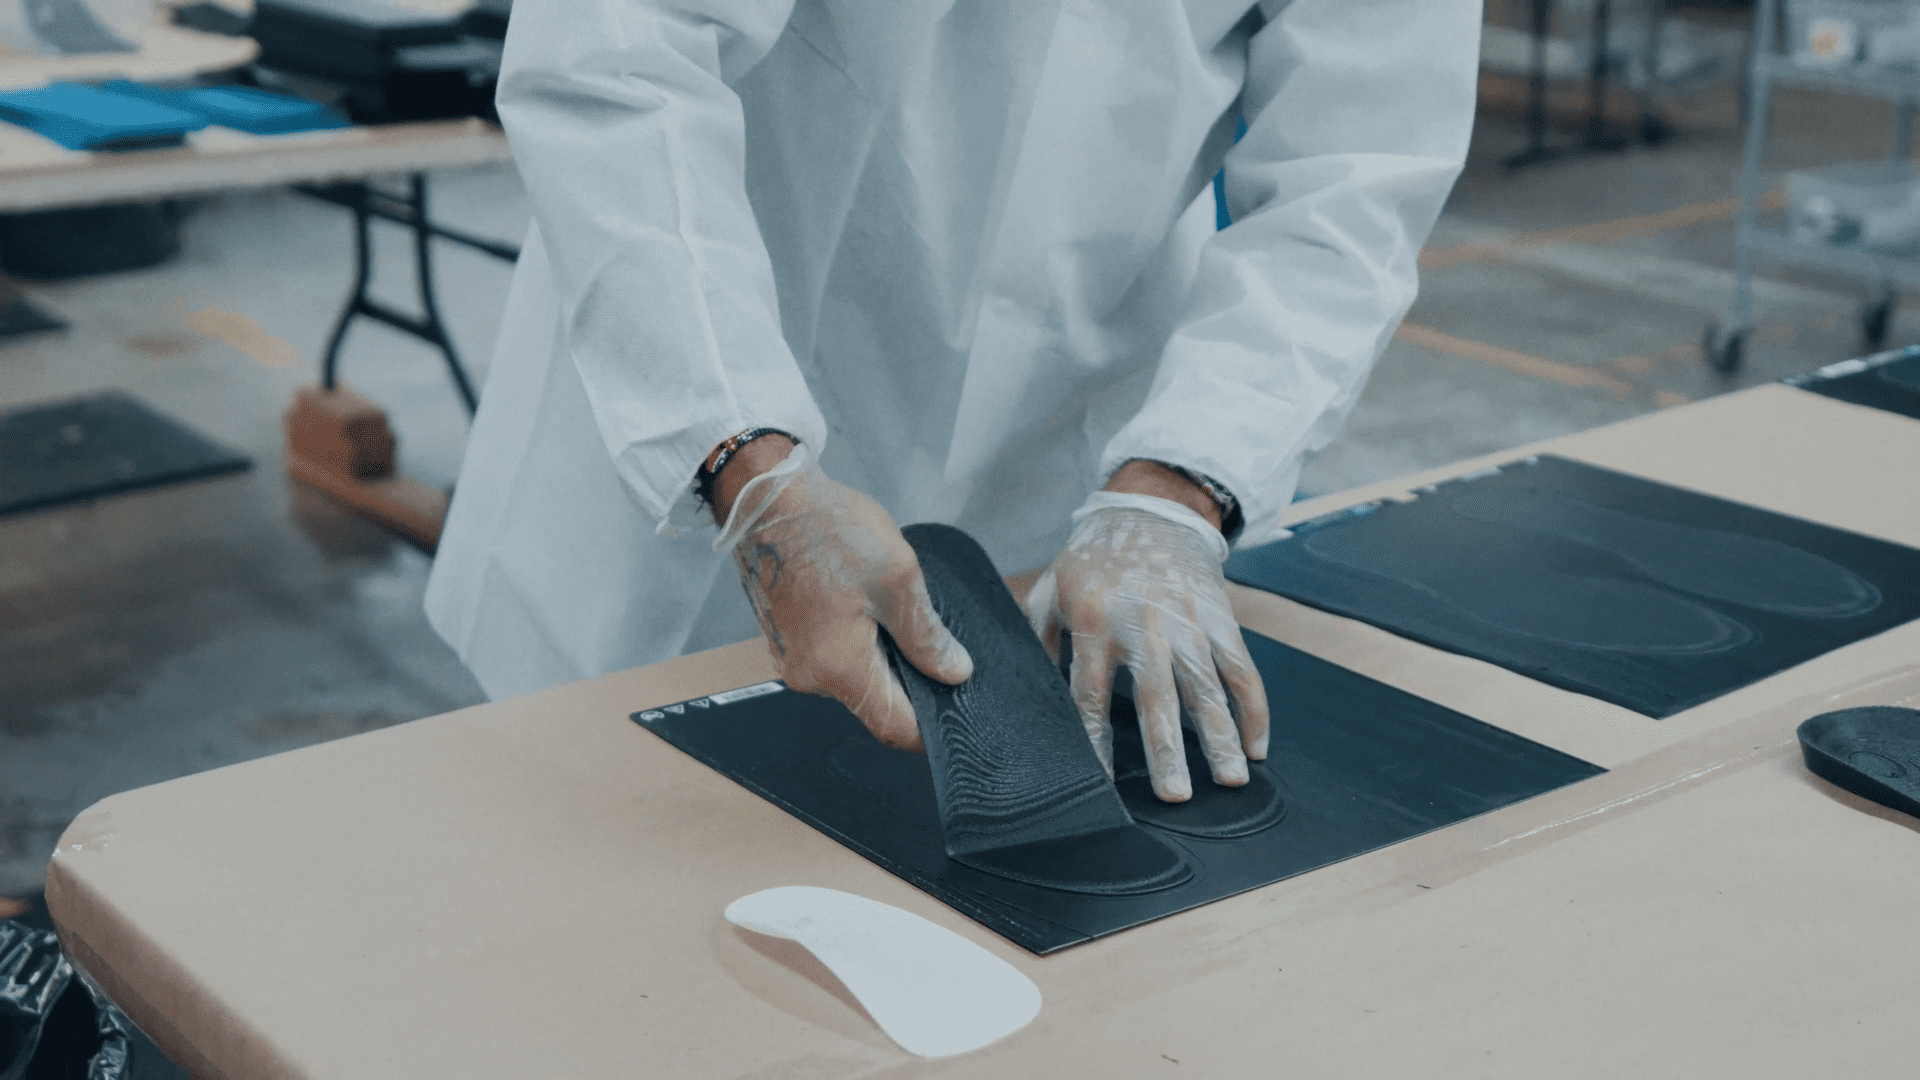
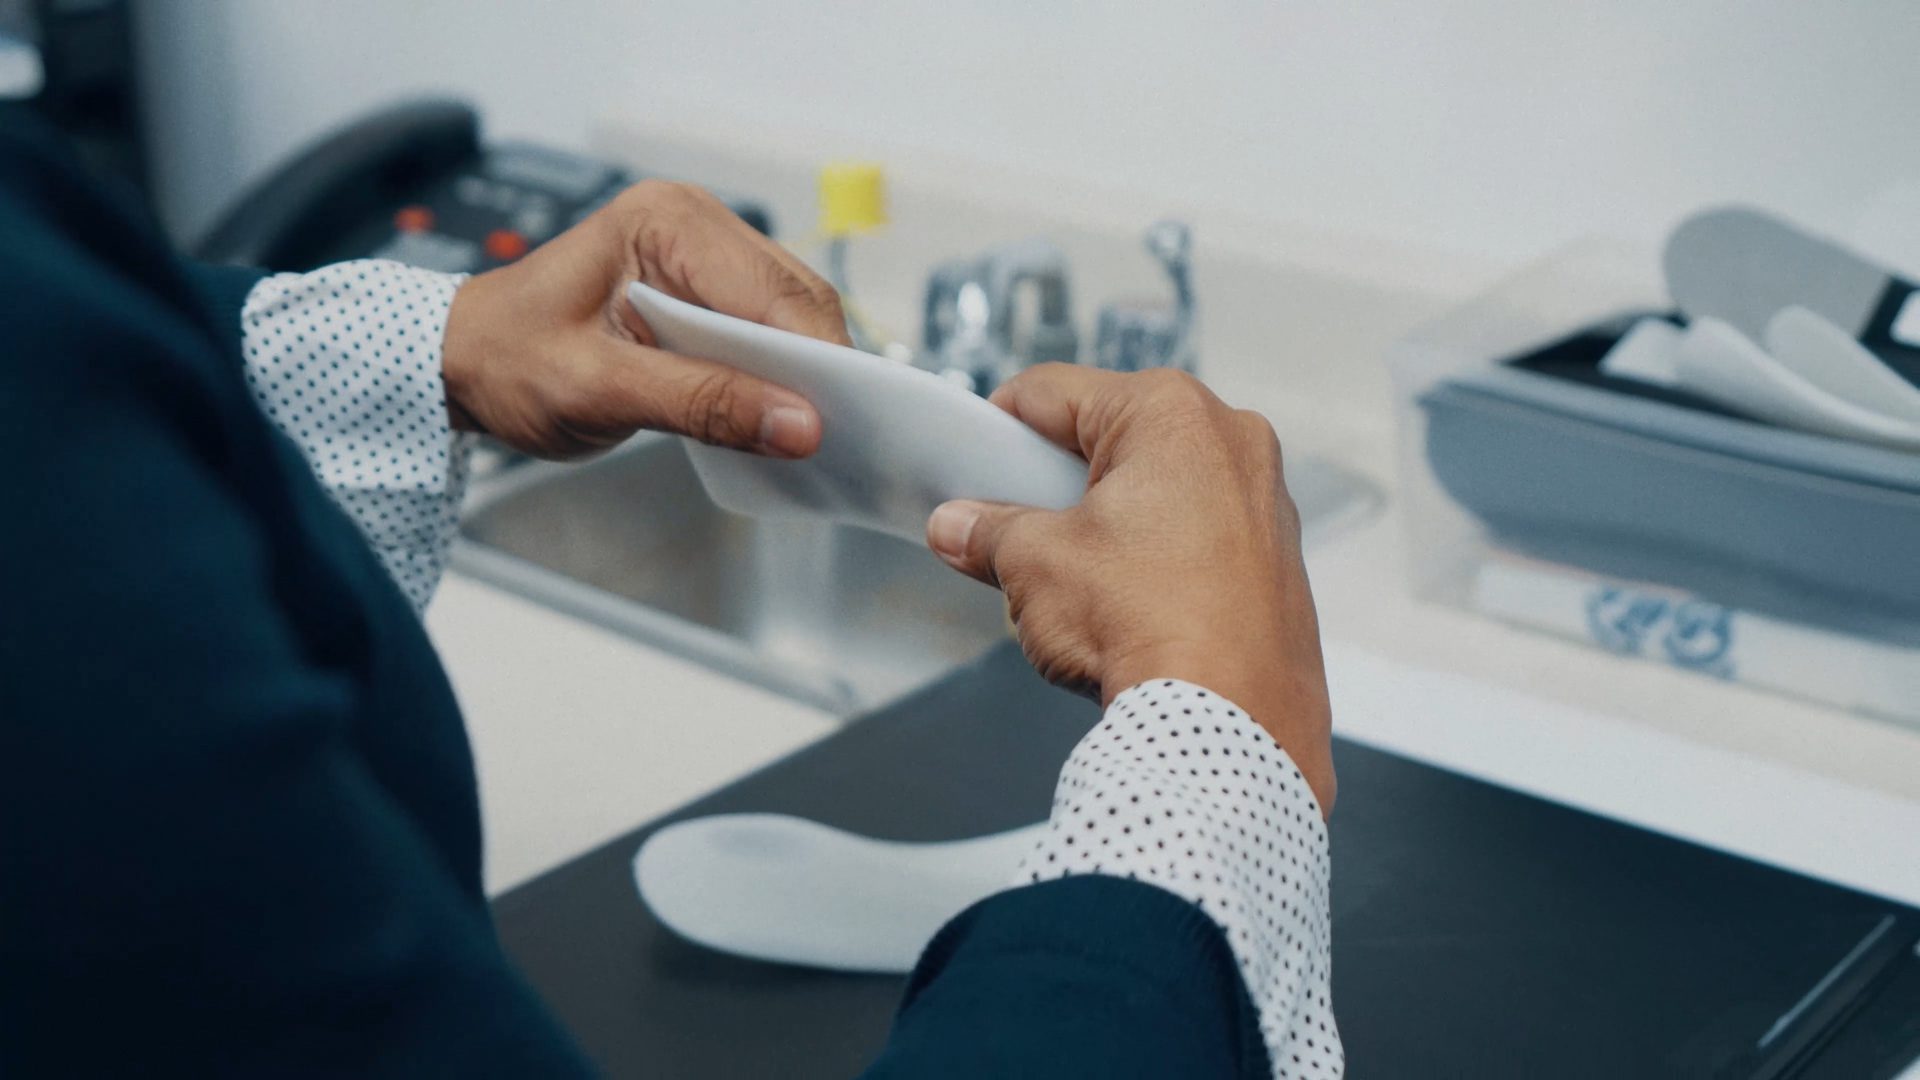
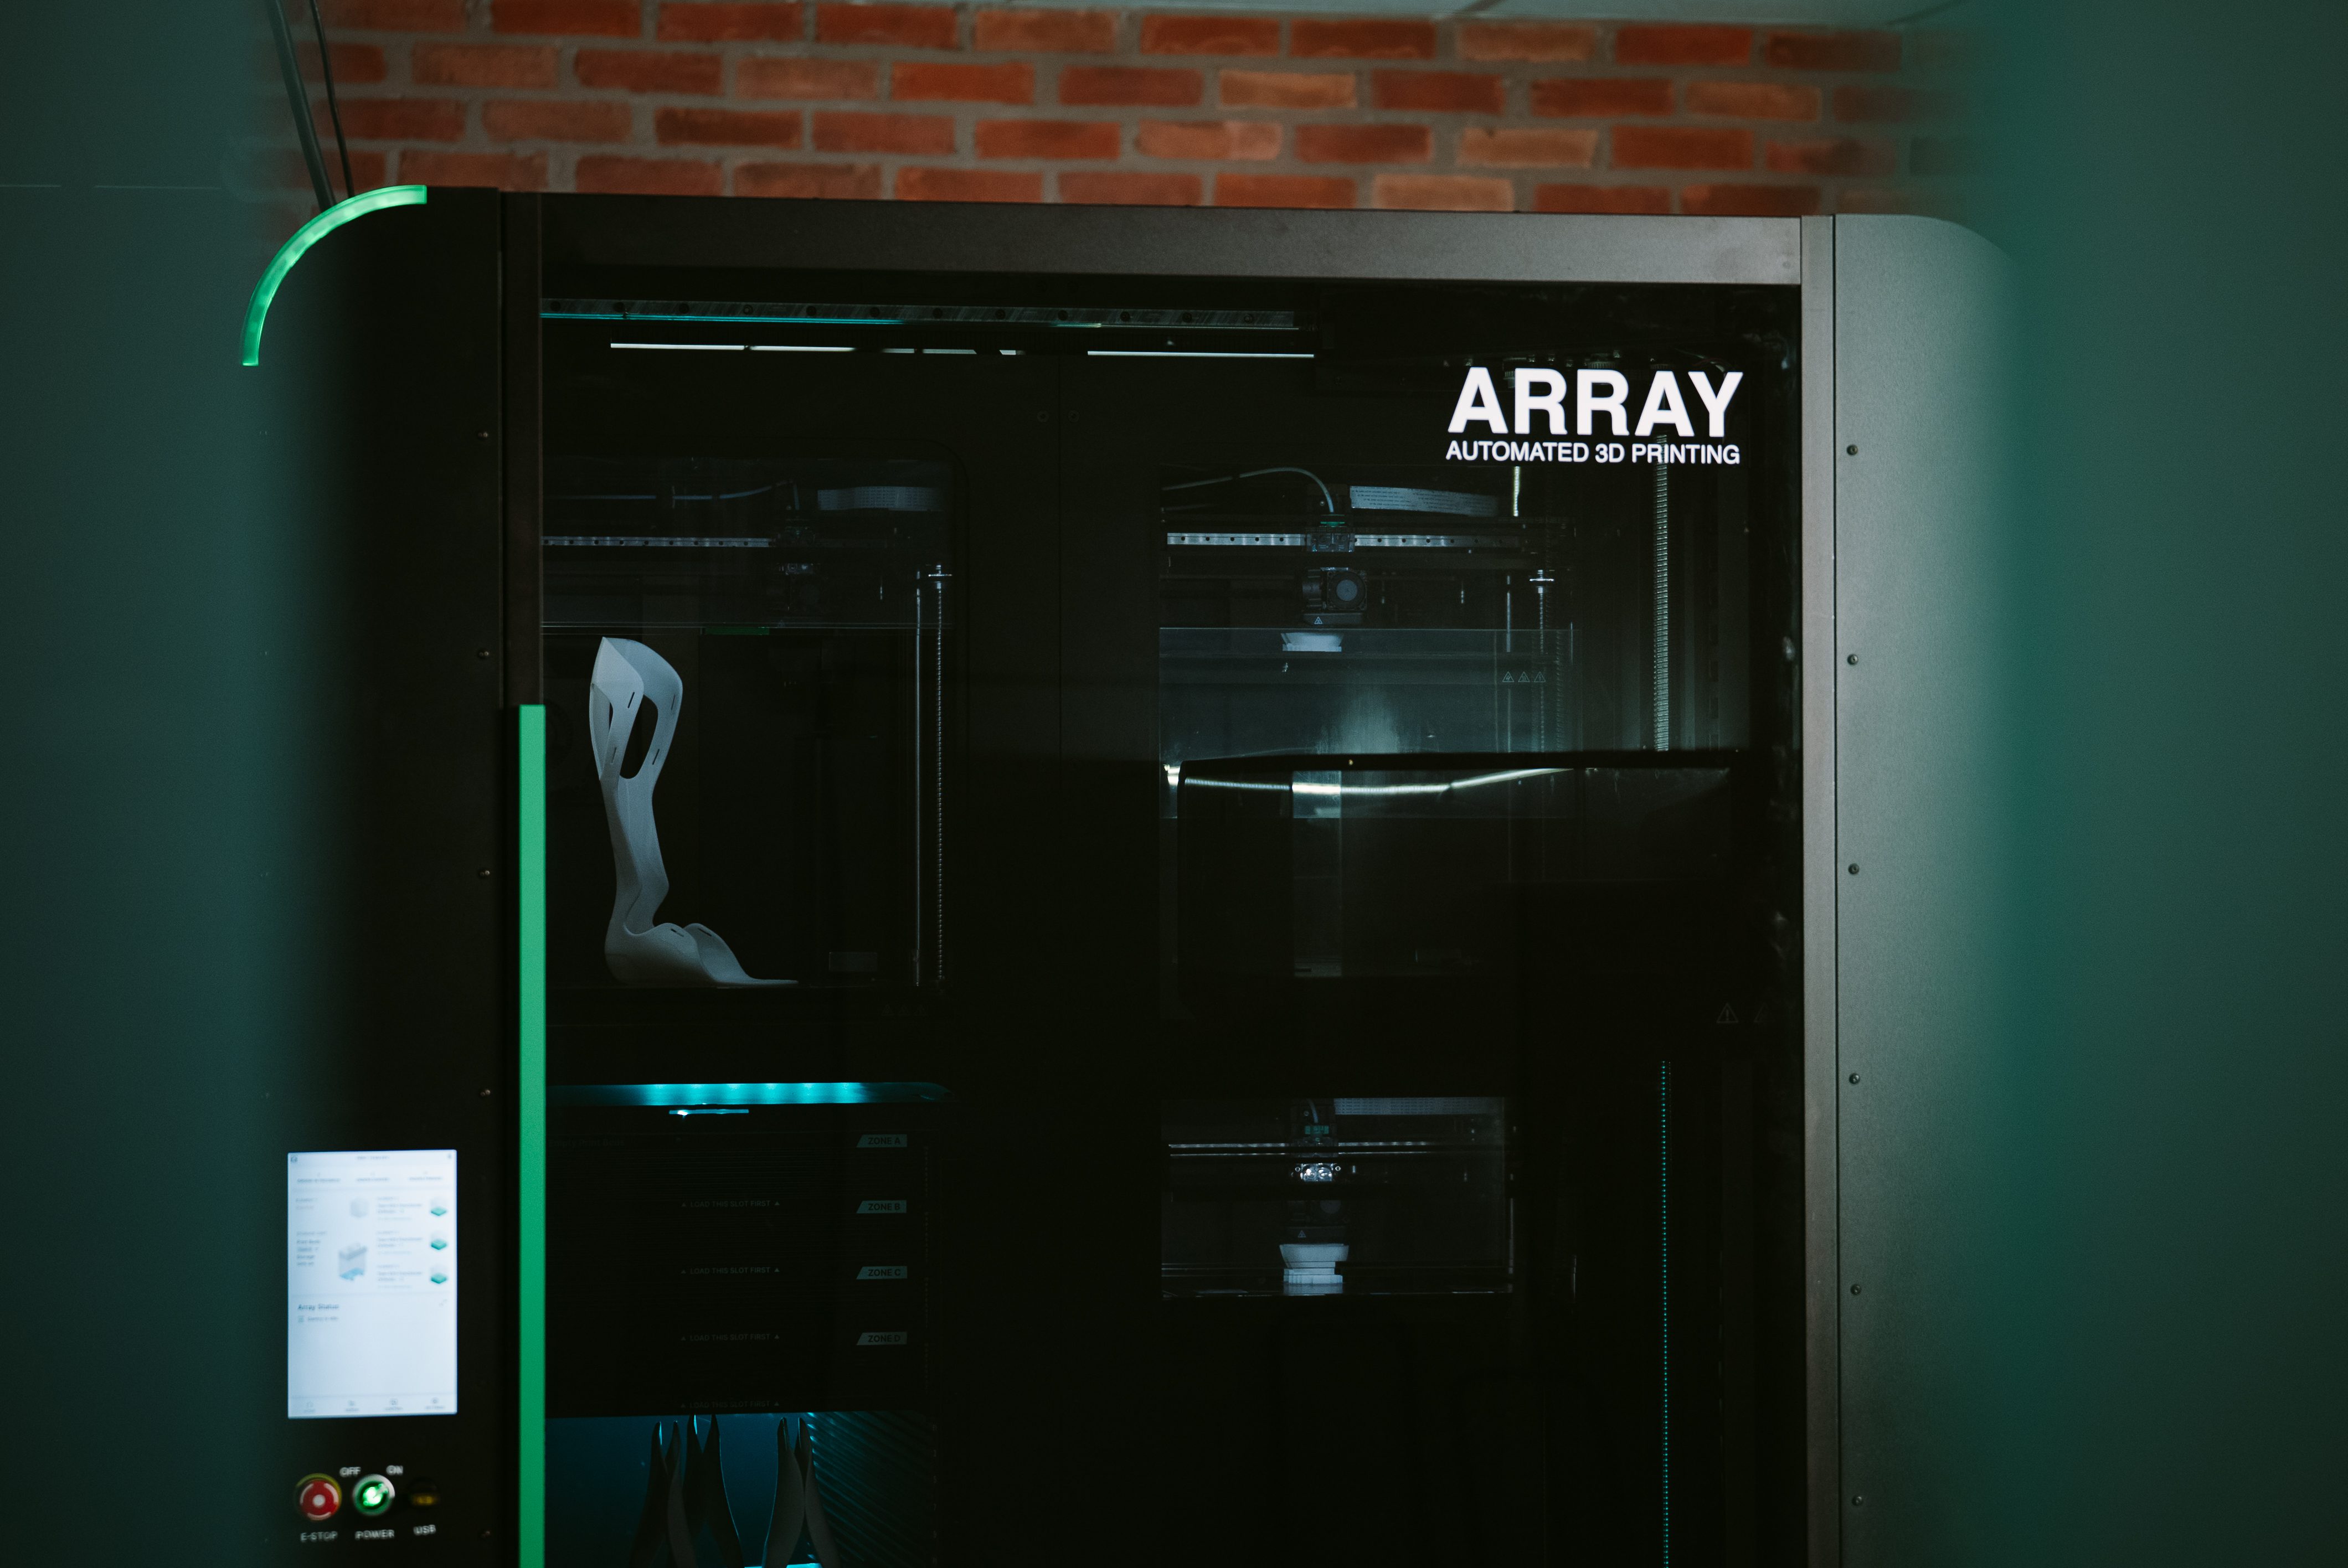
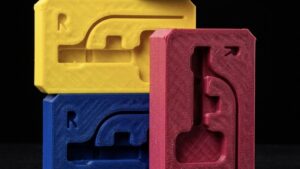
3D printed foam, specifically foamed elastomeric filament like Mosaic Stitch, approaches custom insert production differently. The workflow is: design file in, finished part out. No cutting, no layering, no bonding, no finishing.
That single-step process has several specific implications for fabricators and integrators:
- Because there’s no tooling or setup cost, low-volume jobs remain economically viable without needing to amortize upfront production expenses across large runs. A 1-unit job and a 100-unit job have the same per-part cost structure.
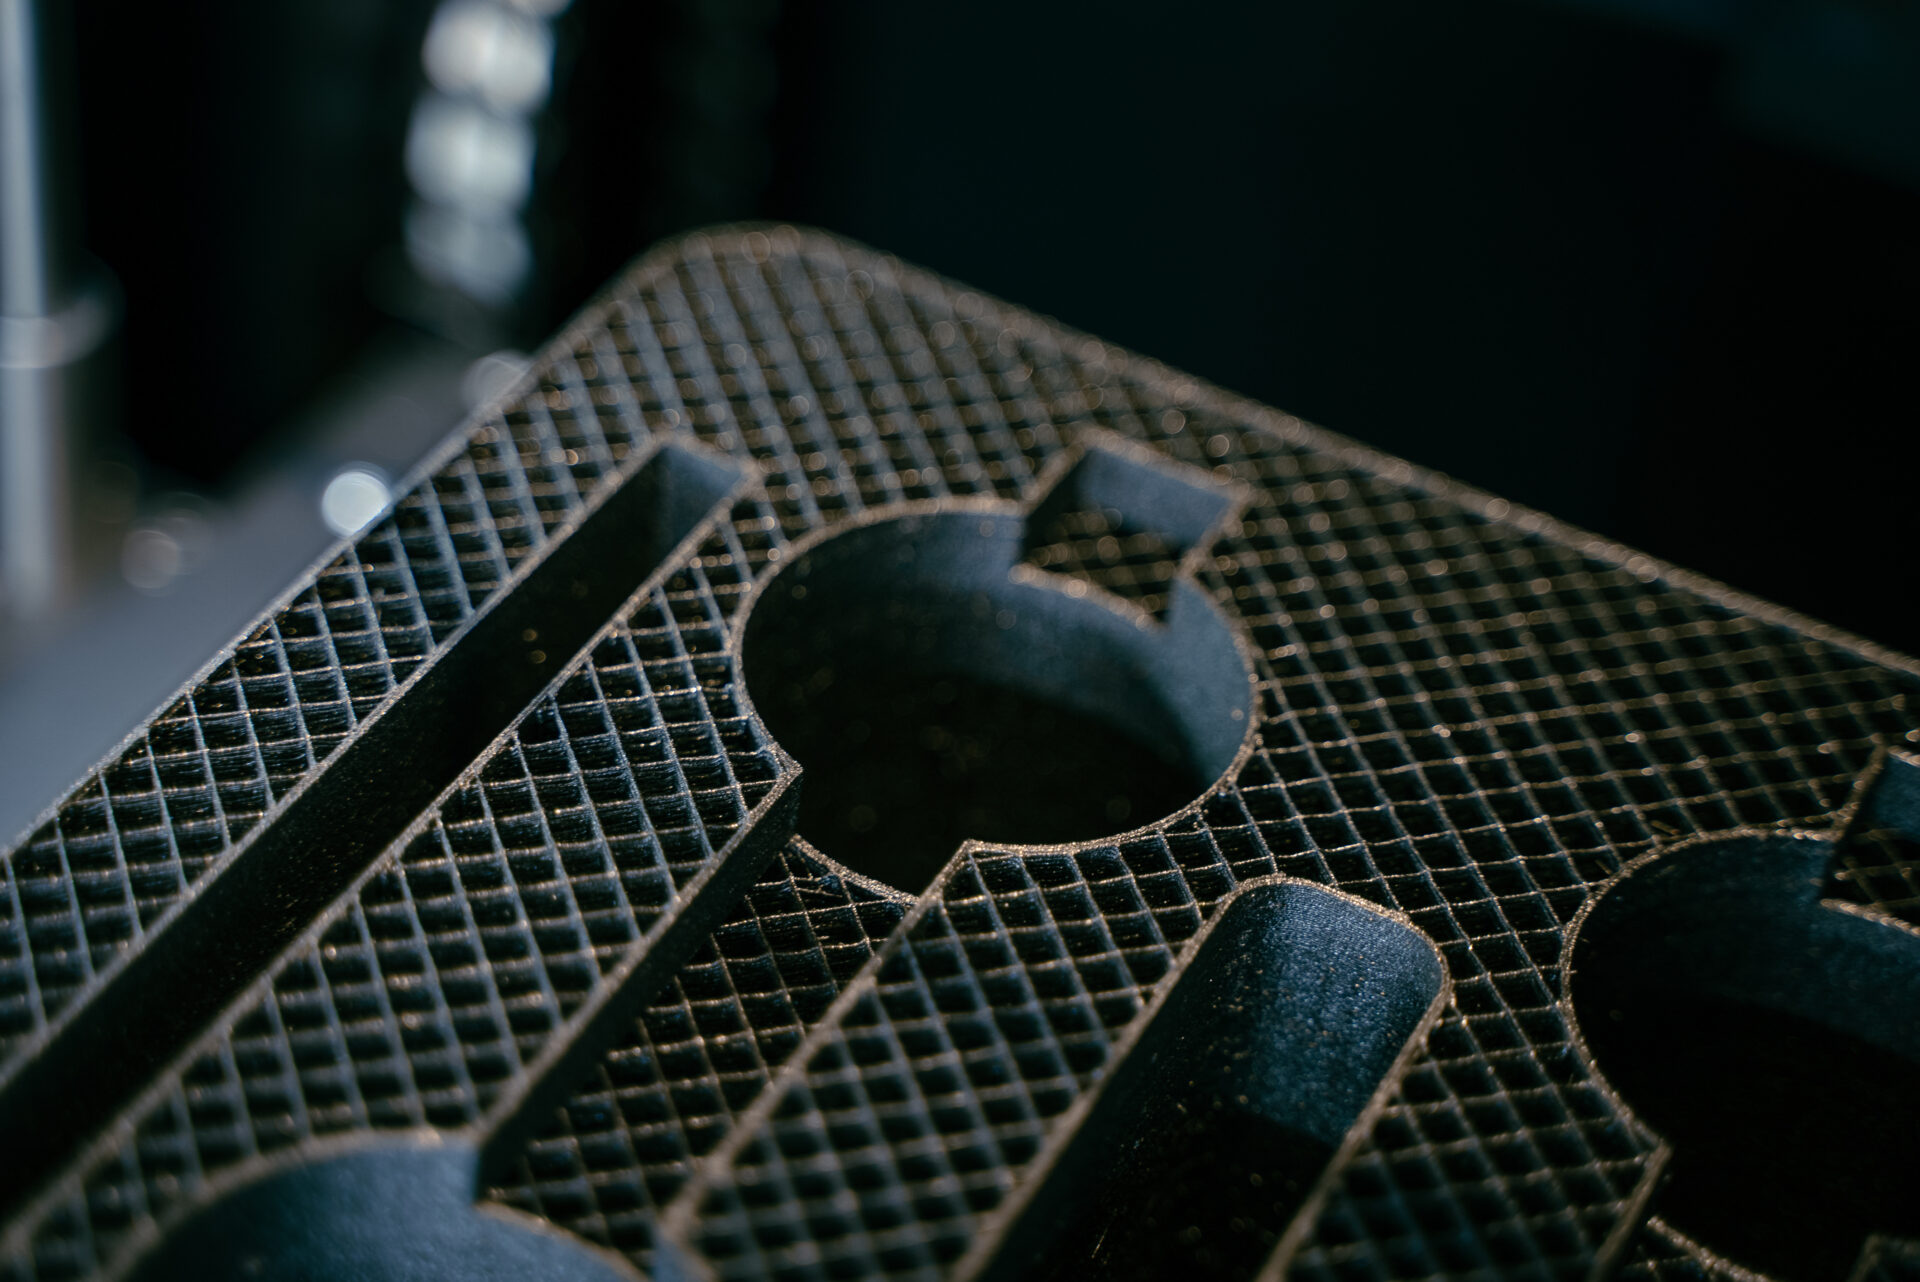
- Full 3D geometry like pockets, undercuts, channels, variable density, is produced in a single print. No lamination required.
- Design iteration is instant. Change the file, reprint. No new tooling, no new samples shipped to the customer.
- Output is consistent run to run and location to location, because it comes from the same digital file.
The most common objection to 3D printed foam is cost. And it is a fair one, at high volumes with simple geometry, die-cutting and CNC are cheaper per part.
The question is not which method is cheapest in the abstract. It is which method is most cost-effective for the specific class of work you are trying to win.
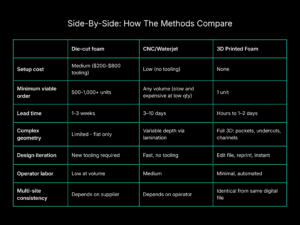
Here is a practical framework based on order volume and geometry complexity:
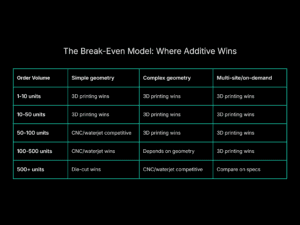
The argument for additive is strongest in the top two rows, the sub-100 unit range, and strongest of all for complex geometry at any volume. That is where traditional methods either require setup cost that cannot be amortized, or multi-step lamination that inflates labor cost.
It is also worth accounting for costs that do not show up in the per-part calculation:
- The cost of the design approval loop: days to weeks of delay per revision cycle, plus labor and material for each physical sample
- The cost of jobs you decline because the geometry is too complex or the volume too low to quote profitably
- The cost of inconsistency: variation between operators and production runs that leads to rework or customer complaints
About Mosaic Stitch
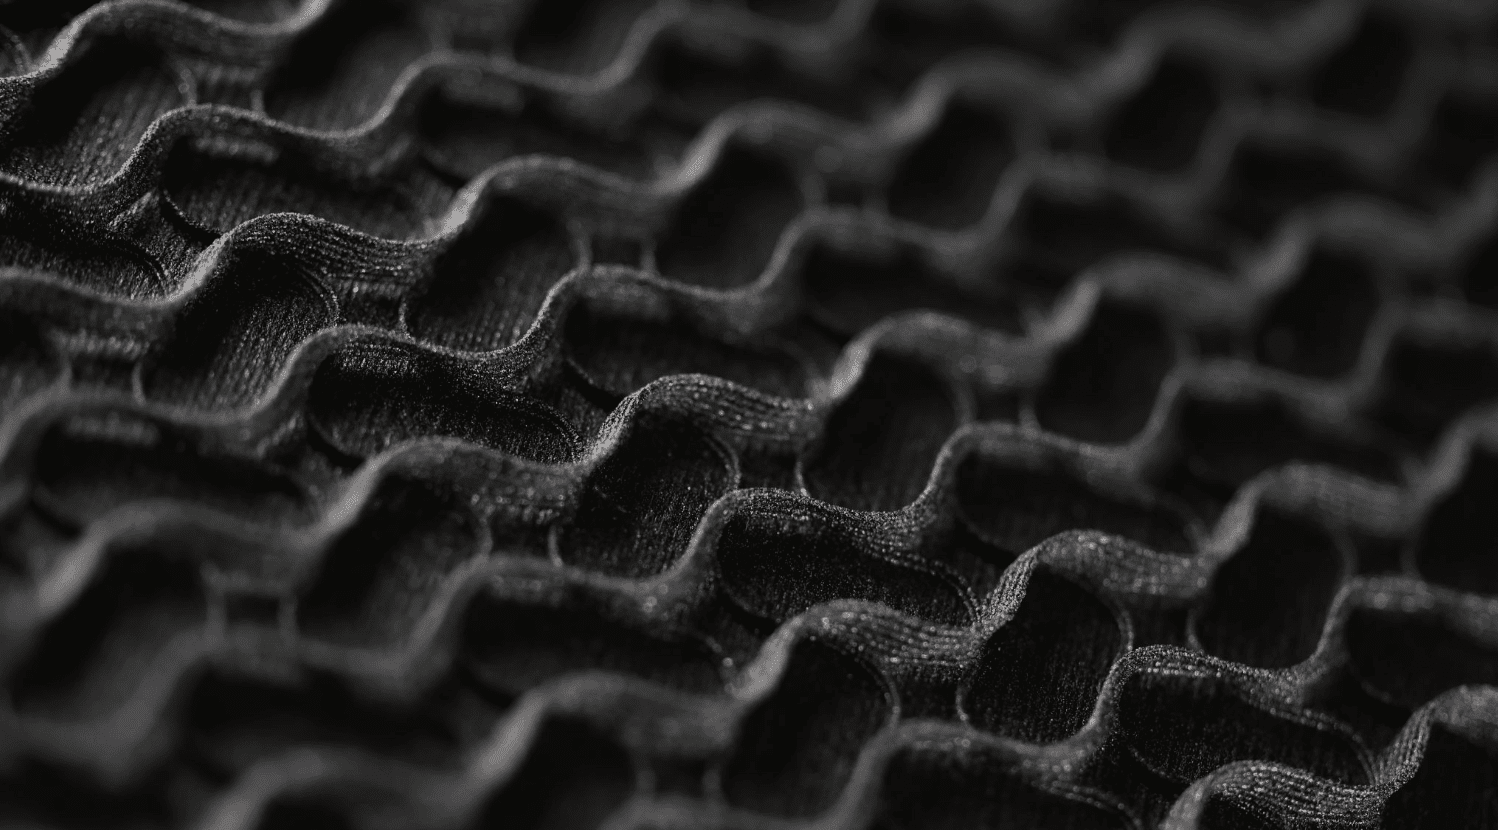
Mosaic Stitch is a foamed elastomeric material developed for applications traditionally served by PE, XLPE, and EVA foams, while enabling the geometric flexibility and digital production advantages of additive manufacturing.
It runs on FFF 3D printers using existing slicer profiles, which means minimal workflow change for operations already running additive equipment.
- Produce complex foam geometries, pockets, channels, and integrated features in a single print
- Eliminate cutting, bonding, lamination, and multi-step assembly workflows
- Produce on demand with no tooling or minimum order quantities
- Maintain consistent output across production runs and locations
- Enable rapid design iteration through a fully digital workflow
Ready to see if 3D printed foam works for your operation?
The jobs that currently lose money, the complex profiles, the small runs, the geometries that require three laminated layers, are exactly where Mosaic Stitch is designed to win.
Request a sample to run a side-by-side comparison with your current method, or book a demo to work through a cost comparison against a real job from your queue.
Already evaluating your full foam workflow? The Complete Guide to 3D Printed Foam covers the end-to-end picture, from material specs to application-by-application ROI, and is a good next step if you’re looking beyond custom inserts to shadow boards, dunnage, and WIP trays.